I kind of began to panic last night when I realized how quickly the end of the school year would be upon us. We just finished Teacher Appreciation Week, but our school has a new calendar this year that sets the last day of school on June 1st. That’s less than a month away- eeek! Other than the fact that I feel ill prepared for summer since I haven’t figured out how I am going to keep my 3 boys entertained all summer long (We all know what I really mean is how am I going to keep them from fighting all summer long, but I digress..)
The real reason I got so panicked? I am in charge of the end of the year teacher gift from the entire class and I don’t know what I am doing yet! Thankfully I remembered another end of the year teacher gift I have done in the past- an UP Paradise Falls Coin Jar and an UP Balloon Card. Now, I did this project in my pre-blogging days so I don’t have the best pictures to share, but I can still go through the step-by-step directions with you and you will get the general idea from what I do have. I have also included tips for getting the best work from the kids and I think that really helps when doing a class gift.
This post may contain affiliate links. Please see the disclosure page for more information.
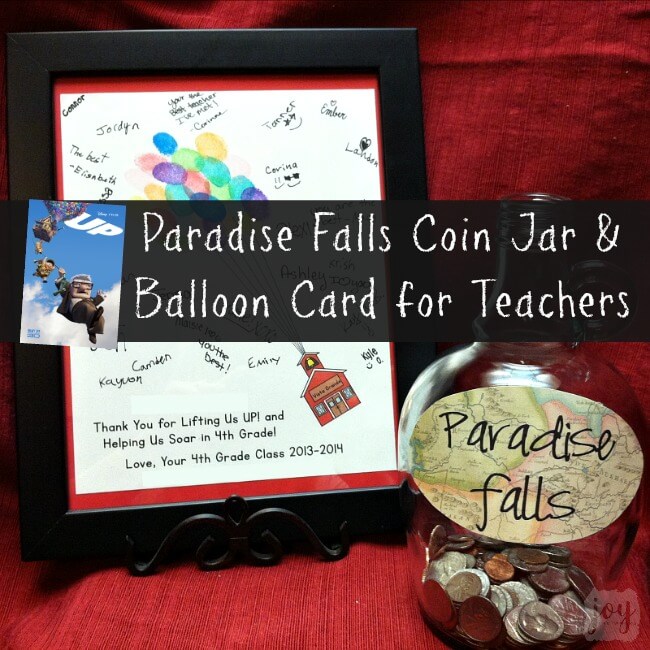
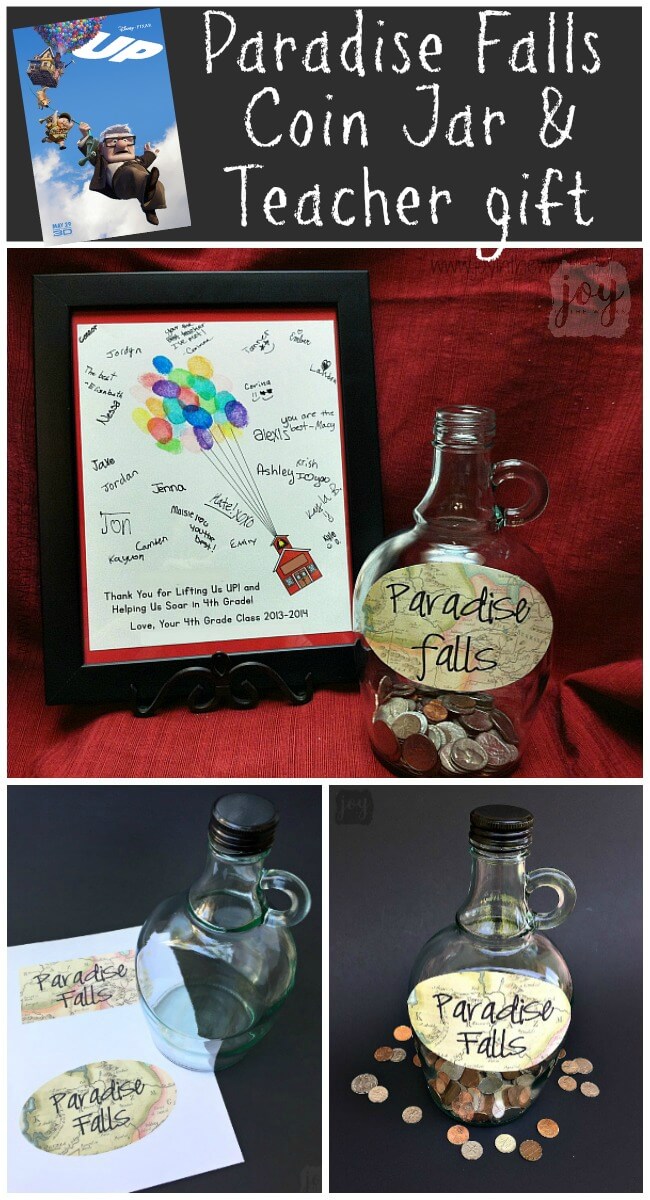
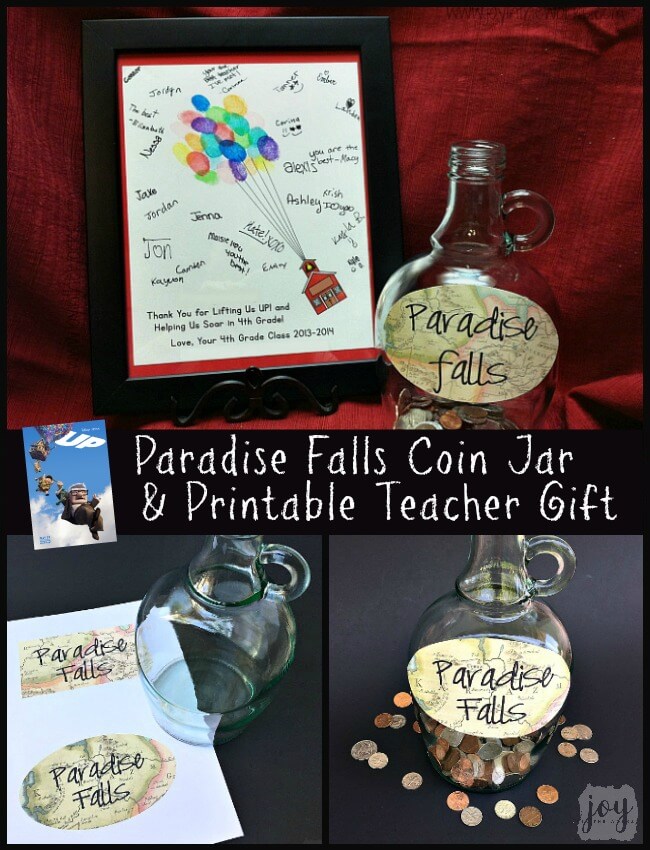
UP Paradise Falls Coin Jar and UP Balloon Card
 This idea all started when my oldest son was in 4th grade and his teacher was a huge Pixar fan. She decorated the classroom with Pixar movie posters and it was incorporated into the lessons from time to time throughout the school year. So when I was in charge of the class gift at the end of the year, I knew I had to incorporate some sort of Pixar movie into the group gift. We had been finishing up Teacher Appreciation Week where we had done a Beach theme and I was wishing I could have given the teacher a trip to the beach too.
But then I remembered the UP Paradise Falls Coin Jar and how the Carl and Ellie saved up money their whole lives in order to take their dream vacation. Since I was on a tight budget for this gift (I had blown it all on Teacher Appreciation), I thought that I could simply ask the students to bring in coins for the jar. It wouldn’t make the parents feel like they were donating a bunch more money and filling the jar with coins would make it look like a substantial amount of money toward a vacation for the teacher!
With the plan all set, then came the hard part- finding the perfect coin jar! I knew I could look at Flea Markets and Thrift Stores and second hand stores for a jar similar to the movie, but who has time for that?! I decided just to go the easy route and get one of those jugs of wine you can get at the grocery store. I wanted to do a smaller jug because I wanted it to look as full of coins as possible, so I settled on a a jug of Burgandy wine by Carlo Rossi. I am not a wine drinker, so don’t ask me about taste or quality, but I do know I like the price!!
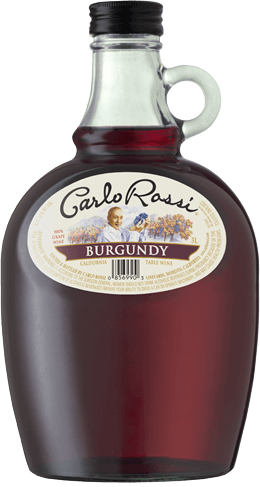 If you use this kind of jar with a label, you need to start by emptying the jug and soaking it in warm soapy water. Next, I got out Goo Gone to get off the last of the sticky residue (follow the directions on the bottle) and let it dry.
Then it was time for the label. I chose to create an oval map label on my computer to fit the shape of this particular jug. The movie had a plain white rectangular label, but I wanted to give it more of a whimsical, travel feel, so I used an old vintage map that gave a similar feel as the film. If you have some extra maps, feel free to measure and cut them out on your own for a label. Or if you want to be more true to the movie, feel free to use computer paper and hand write the words. But if you want to take it up a notch and use the one I created on my computer, you can purchase the map and the schoolhouse printable in my store here. It also includes the UP Balloon card as well. (Feel free to use one and not the other- the price is low enough, I think you won’t mind! ;)
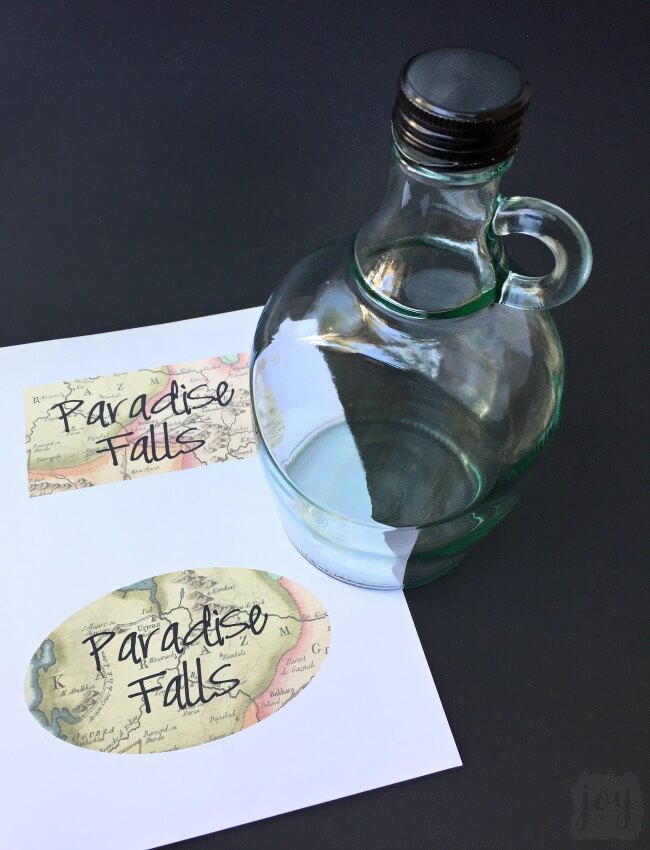 If you decide to use the labels in my store, simply print out the pages (I prefer card stock) and decide which shape you will need. If you use the oval one I made with the same jar I used, it just needs a little trim (I did both maps a little bigger so you could use whatever jar or jug you could find). Next, I used rubber cement to attach my label to the glass jar and it seemed to work pretty well.
Then comes the fun part- filling the jar with coins for an upcoming vacation to “Paradise Falls” (or wherever the destination may be. Obviously I used the word Paradise Falls as representational for a vacation to anywhere). While we added some coins at our house, as I said, I had the class contribute coins as well. They loved doing it too- just to see their faces light up as they put the money in the jar as they watched it get higher and higher. They were so excited to give their teacher vacation money! (And again, I use that term loosely- please, no one email me about how wrong it is to make the students give their teacher money for a vacation! It was all in good fun and the coins probably only totaled $5 or something. It was the idea and the thought that counted.)
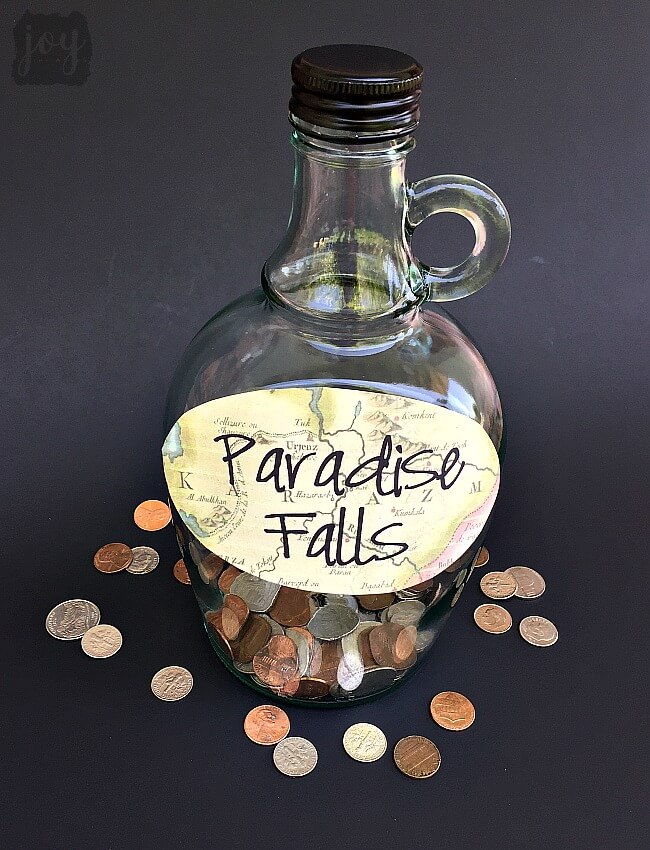 Now you could stop there or you could add the UP Balloon Card with floating schoolhouse and frame it as a gift from the whole class as well. The directions (with tips for getting the best work from the students) are below.
UP Balloon Card
Supplies Needed:
Pen: Sharpie or Flair Pen
Fingerprint Ink Pads in Various Colors
Printable UP Card with Floating Schoolhouse (in store with map label)
Baby Wipes
Black Picture Frame (optional)
Okay, so you might think that this UP Balloon Card needs no instructions because it looks self explanatory, but as I said in this post on class art auction projects, there are a few tips that will help things go more smoothly when working with a group of kids creating a group gift like this.
The first is, you have to be the one in control! You can really only do one student at a time or things will get away from you, trust me. You will have some kid writing a message when there is only enough room for kids to sign names or they will start doodling or they will cross out a mistake (we used white out- expect mistakes!) And yes, I am speaking from experience!
But I am getting ahead of myself- the first thing you really need to do is print out the UP Balloon Card with floating schoolhouse from the store (Just like I said with the map, I tend to print out most of my printables on white cardstock, but you can use plain white paper as well). The schoolhouse looks slightly different than the original, but I think it looks even better than the one I used previously. I also changed it so the UP Balloon Card you purchase will have blank lines so you could personalize it with your child’s class, school, the year etc. (There is a picture in the store so that you can see what I mean)
Now, onto the actual thumbprints with the students! Notice I said “thumb” prints, not “finger” prints. Thumbprints give the most realistic balloon shape and helped the look stay consistent with the kids. I also suggest that you physically help the students press their finger completely onto the ink pad and then onto the paper. It helps get the best print with coverage, color and prevents smearing and smudging. You have to be extra careful with this with so many kids printing on top of each other.
Speaking of, some tips about the order and the layering: It works best to do the first row of thumbprints on the end of each line or “string”. For the next row, you want to try and put one “balloon” behind 2 others. Follow that pattern as best you can throughout your balloon bunch to make it as uniform as possible.
As you are layering the “balloons”, you also want to be aware of the colors being printed on top of each other and which ones might “disappear” because of it. In light of this and because you don’t want too much of one color balloon in one spot, I think it works best if you just give the students the choice of 2 or 3 colors before they start. Truly, if left to their own devices, it would be all pink or purple or turquoise balloons for the girls and black (or orange) for the boys. Yes, even in 4th grade.
As soon as we are sure we have a good, solid thumbprint on the paper, I hand each student a baby wipe immediately. Once their hands are clean and have dried completely, I give them a pen to sign their name (I like flair pens or thin sharpies for this.) It is also important that they don’t lay their arm on top of the ink or anything in the picture when they are signing it. It is kind of funny to watch how they sign their name when they can’t touch the paper anywhere else! If you have access to a class list, this is a great time to check off names to be sure everyone is represented.
After I made sure every student was represented, I let the card dry a bit. Then I framed it with a black frame to give it another extra special touch and ensure it could become a keepsake for the teacher if she wanted to hang it on the wall with all the other Pixar paraphernalia. And she did! She loved the gift and the jar and even approached me long afterward about what great gift it was and how it reminds her of that class that year every time she looks at it! Doesn’t get much better than that when making a gift for a teacher!
So that year and that gift were a success, can I hit it out of the park with another class gift this year? Any tips or ideas? Please share below!
