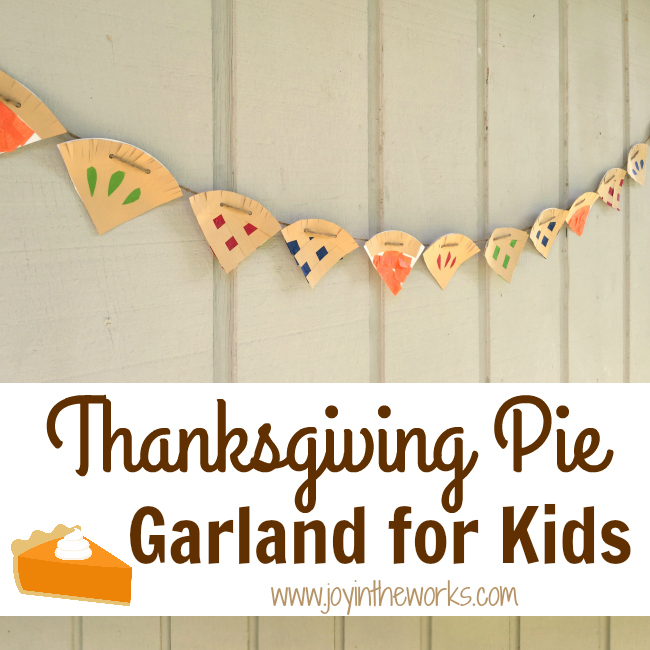
Am I the only one who gets tired of paper leaves and hand traced turkey decorations on Thanksgiving? While I think that it’s great for the kids to make the Thanksgiving decor (it keeps them entertained while the turkey is cooking!), I thought it was time we did something a little bit different. In our quest for creative kid made Thanksgiving decorations, we came up with this cute Thanksgiving Pie Garland for Kids.
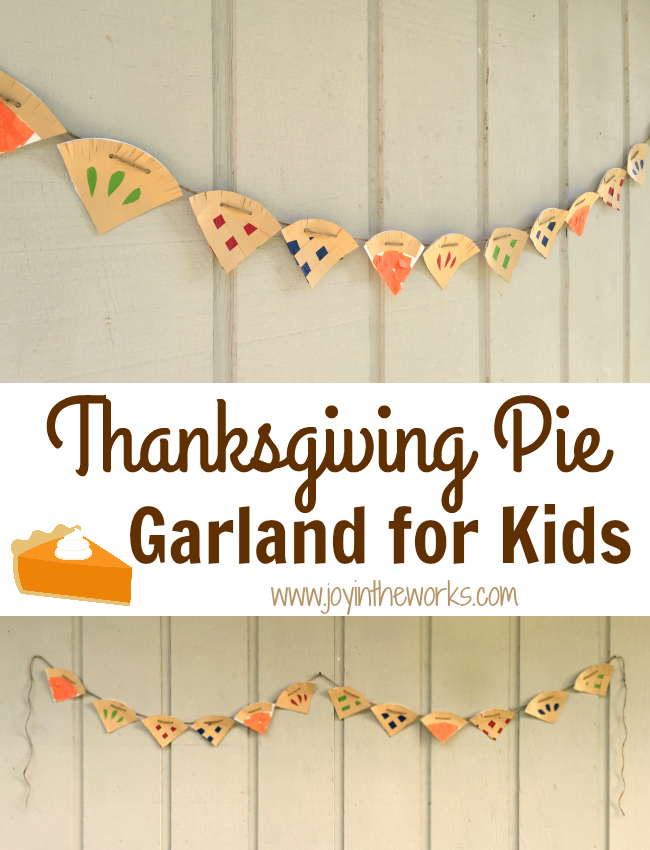 I must confess as fun as it was to create a Thanksgiving Pie Garland of slices of pumpkin, cherry, blueberry and apple pie, it did take a little bit of planning. This isn’t one of my usual throw together activities. Luckily for you, we did all the grunt work and I can now easily share how we did it. Plus you may already have all the supplies on hand!
Thanksgiving Pie Garland
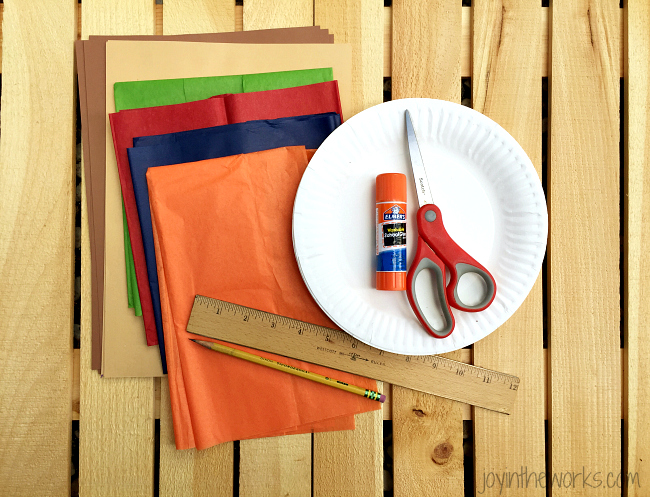
Supplies Needed:
Fluted Edge Paper Plates
Tissue Paper (Red, Blue, Orange and Green)
Brown construction paper
Scissors
Glue
Hole Punch
Twine or Ribbon
Ruler and Pencil (optional for those who want to make sure everything is perfectly even and symmetrical)
 Step 1: Cut up tissue into small pieces. (Not pictured)
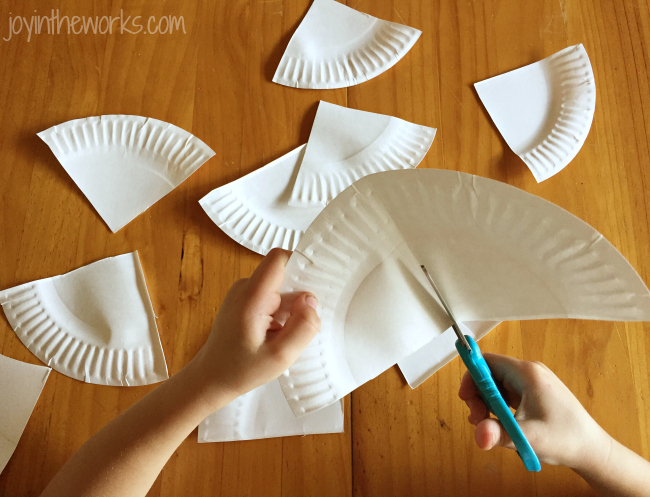
Step 2: Fold paper plates in half and crease. Cut on crease. Then fold in half again and cut the paper plates into quarters. If you care about the slices being perfectly even, feel free to use that ruler here!
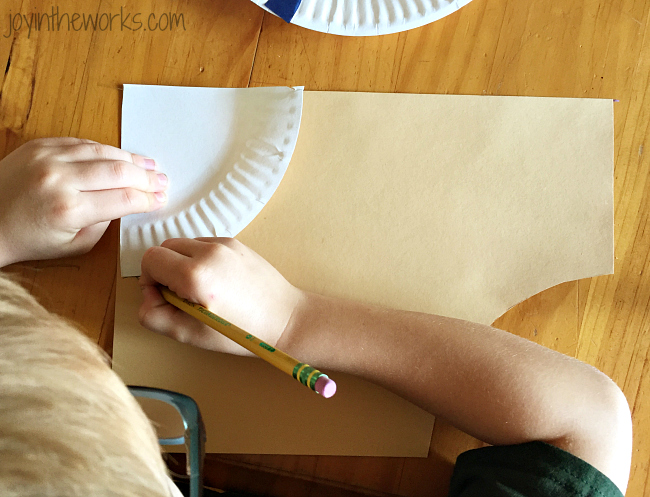
 Step 3: Take brown construction paper and trace a pie slice using the pencil. Cut it out. Set aside.
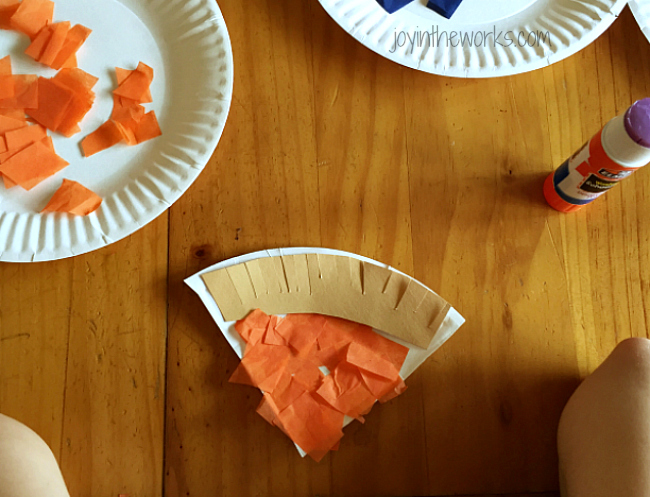
 Step 4: Put glue on paper plate triangle.
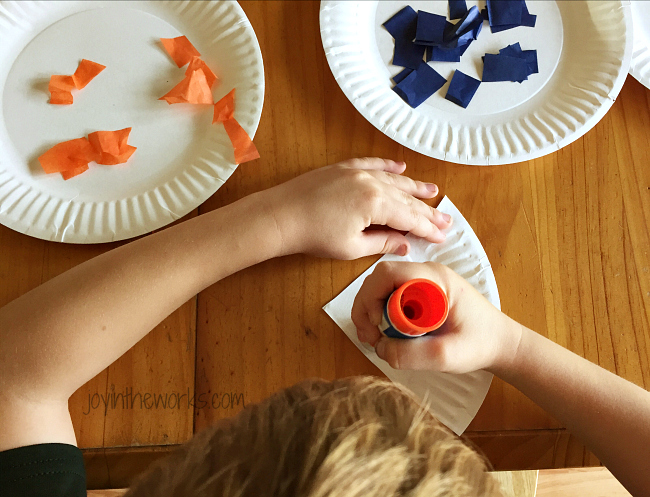 Step 5: Decide what “flavor” of pie you are going to make. We used orange for pumpkin, blue for blueberry, green for apple and red for cherry. Of course you can use whatever colors you want. Lay tissue paper down on the plate and pat down.
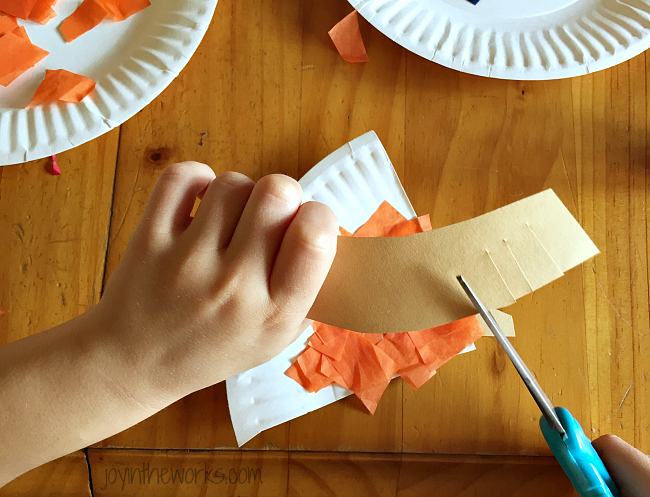
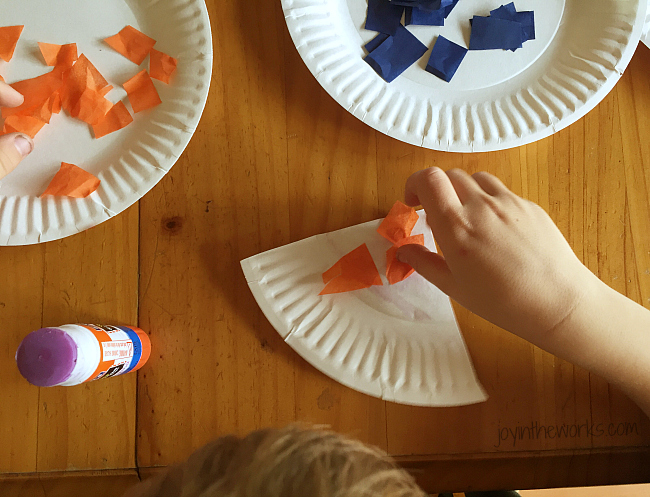 Step 6: Decide what kind of crust you would like. The pumpkin pie shown here just has the simple edge crust. But the beauty of this activity is that the kids can get creative with the kinds of pie they create- from flavor to crust. However, if you just need the edge, then take the brown construction paper slice you had set aside and cut off a curved edge that will fit on the top of the paper plate (it’s about 1.25 in). Interested in knowing how I did the other styles of crust? See step 10
Step 7: Take the crust and make small cuts in it, making sure to stop before reaching the other side.
Step 8: Put glue on crust and stick it on the top edge of the paper plate.
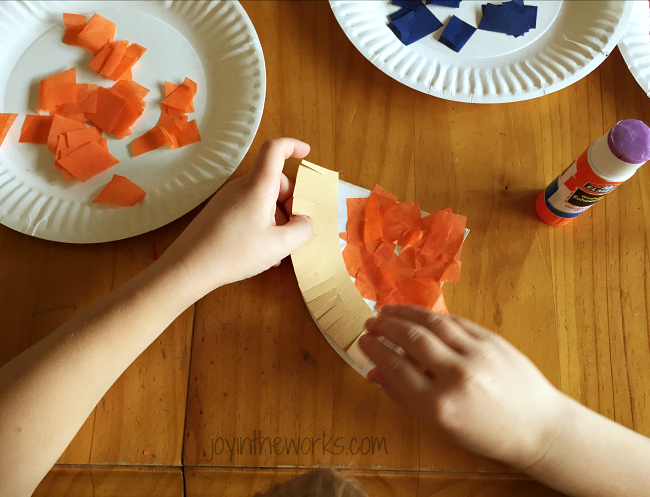 Step 9: Admire your first piece of the Thanksgiving Pie Garland for Kids!
Step 10: You can use all pumpkin pie slices in your garland or you can make other flavors. It was pretty easy to change out the tissue paper colors and add “lattice” strips on top. If you want to make the full crust type, we simply cut out shaped colored tissue paper and glued it on top of the brown construction paper triangle. If you do that version, you can even skip the tissue paper underneath.
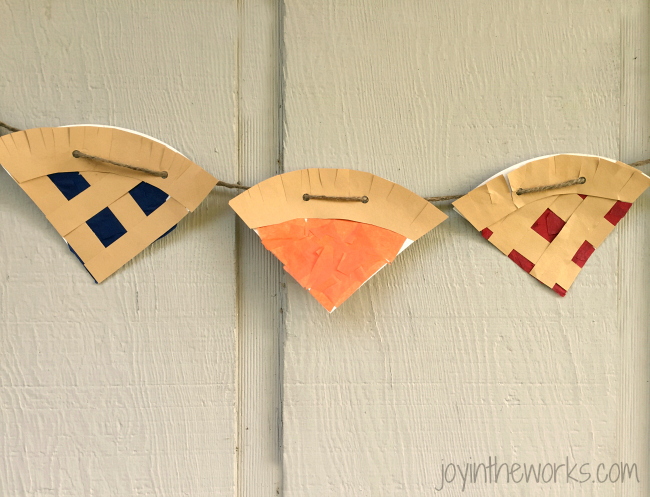 Step 11: Use a hole punch and some string or ribbon and string the whole Thanksgiving Pie Garland for kids!
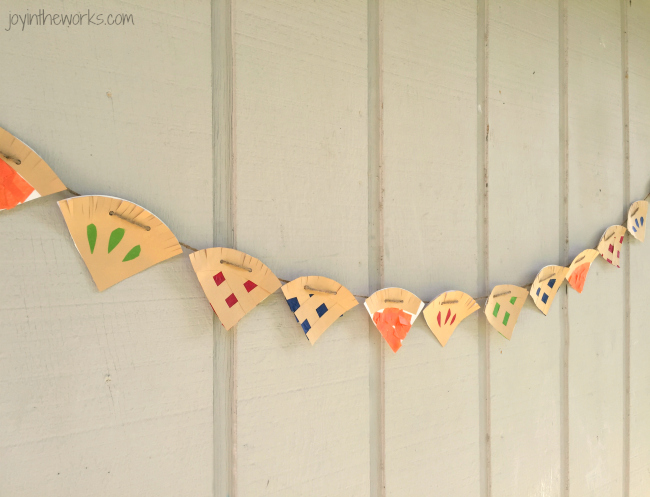 Step 12: Enjoy your kid made Thanksgiving decorations with this DIY Thanksgiving Pie Garland!
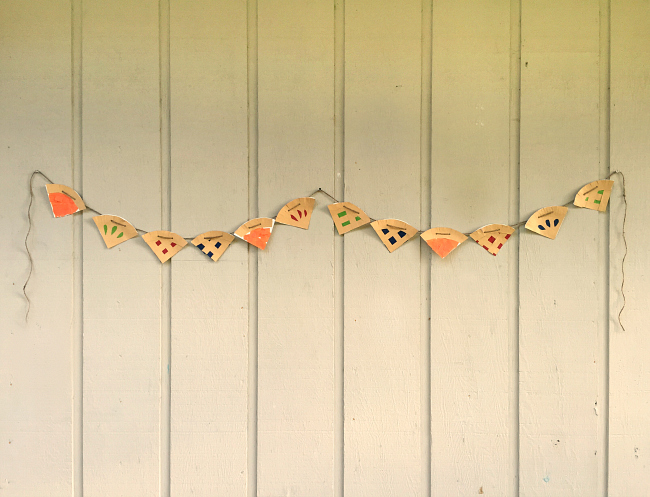 Looking for other kid made Thanksgiving decor? Check out this Nature Collage Thanksgiving Banner we made- it was a scavenger hunt and a craft all-in-one! Or these creative Pear Monogram Placecards the kids made using yummy smelling cloves!!

This is beyond adorable! I’m definitely going to make a bunch of these with my kids! They will look so cute around the house! Love!
Thank you so much! We had fun making it on the long week before Thanksgiving when my kids were going stir crazy at home! ;)