I have a thing about buttons. I don’t know what it is. I don’t even know how to sew (and I have the grades from 7th grade Home Ec to prove it!), but I just love buttons. I think it is something about all the beautiful colors and all the different things you can do with them. If you follow me on Instagram, you know that I love to sort buttons with the kids for fun (it’s so soothing!!) but I also love using them for different arts and crafts projects. So with Mother’s Day being just days away, I used my collection of buttons to create Button Flower Art, which I think will make a perfect Mother’s Day Gift. (I am hoping my mom isn’t reading this, though, as I just may keep this one for myself!)
This blog post contains affiliate links. Please see our policy on the disclosure page.
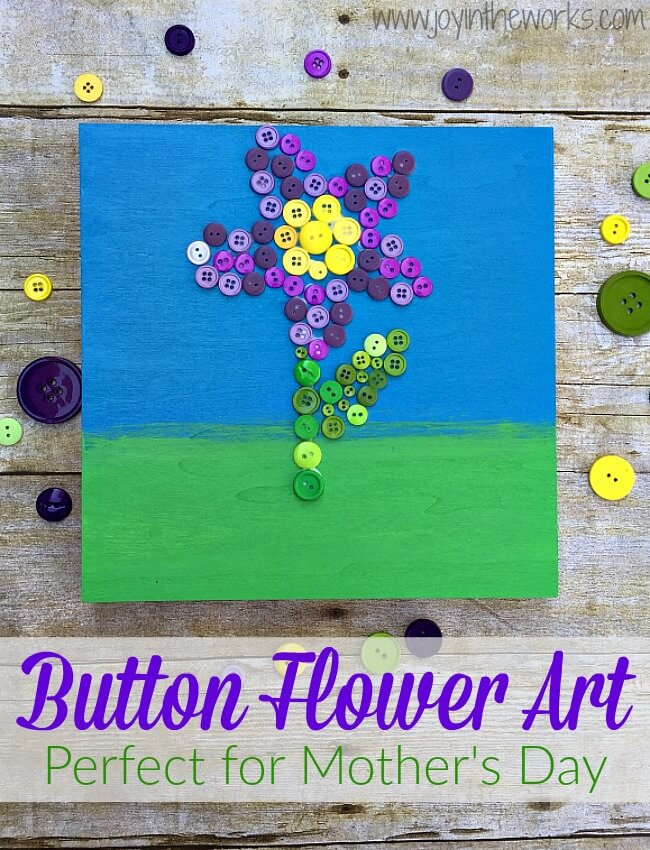
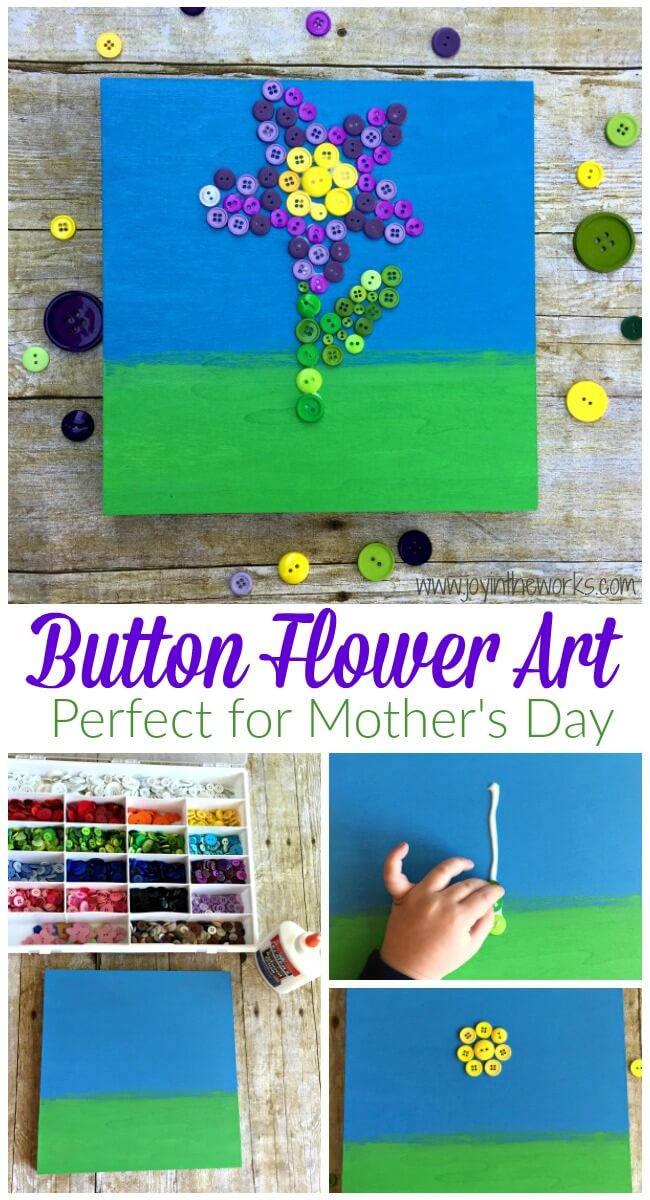
Mother’s Day Gift Idea: Button Flower Art
Supplies Needed:
Painter’s Canvas, Wood Plaque or even Cardboard (Any shape will do. As long as it is sturdy enough to hold the buttons and glue.)
Buttons
Acrylic Paint (Blue for sky and green for grass) Acrylic paint has the best coverage, in my opinion. But put the kids in a smock if they are helping you, as it’s not washable!)
Paint Brushes (I prefer foam brushes for these types of projects.)
Liquid White Glue
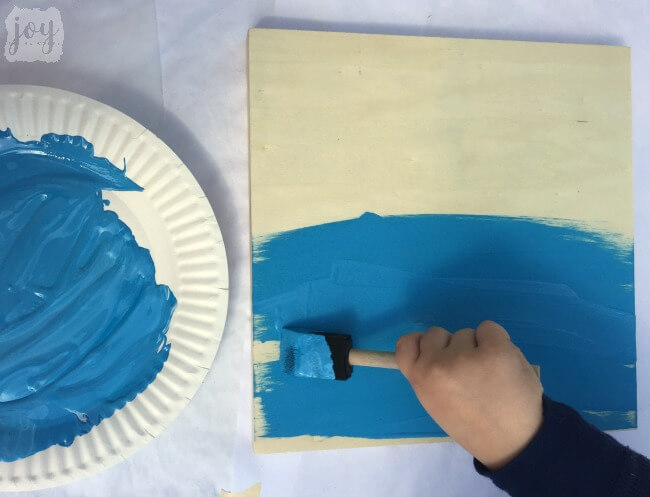
Step 1: Paint your canvas or plaque. We mixed the blue paint we had on hand, but I think I would have preferred a brighter sky blue. I really liked the shade of green we used, however. The painting step is a great time for any little ones to help out. As I said, acrylic paint is my preferred type of paint for crafts due to coverage, but it is harder to get off hands and clothes, so watch them carefully if they are “helping” ;)
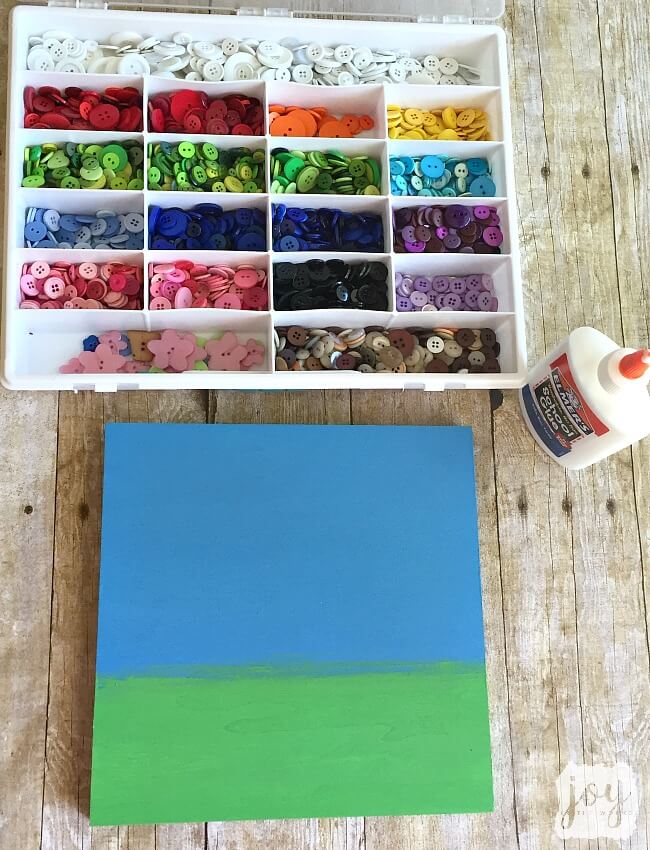
 Step 2: After the paint has dried, gather your buttons and glue and supplies in one place. Aren’t the organized buttons just so pretty?! =)
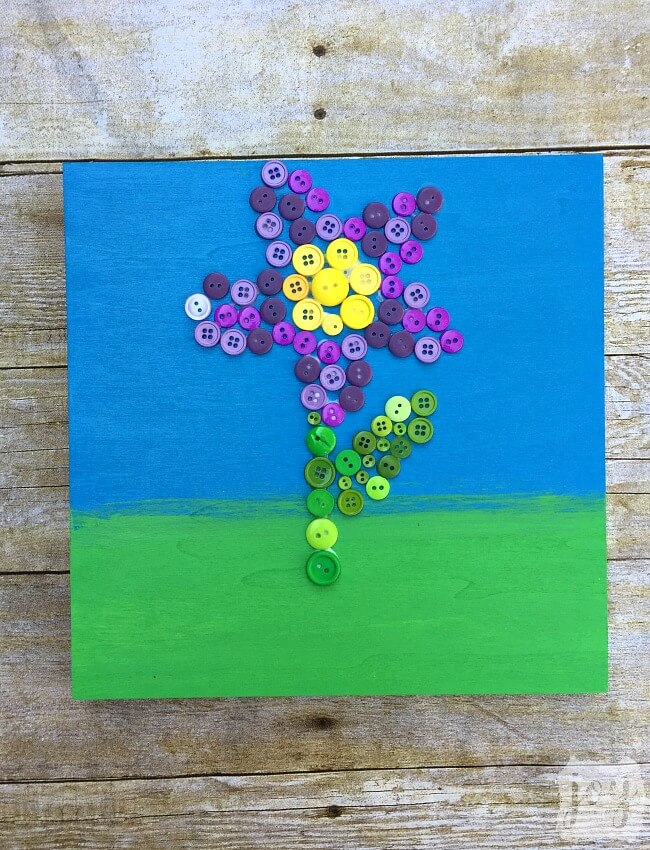
 Step 3: Plan your flower design. You can even use a pencil to sketch out your idea or draw it in with a black sharpie and fill in the shapes with buttons. Because of the varying sizes of buttons, however, your design needs to be a bit fluid. I had originally wanted my flower to have round petals, but they ended up being more pointy, but I still like the look of the Button Flower Art.
Step 4: Starting with small areas, take your white glue and squeeze the glue where your buttons will go. If you have a little helper, they can line up buttons on spots or lines of glue.
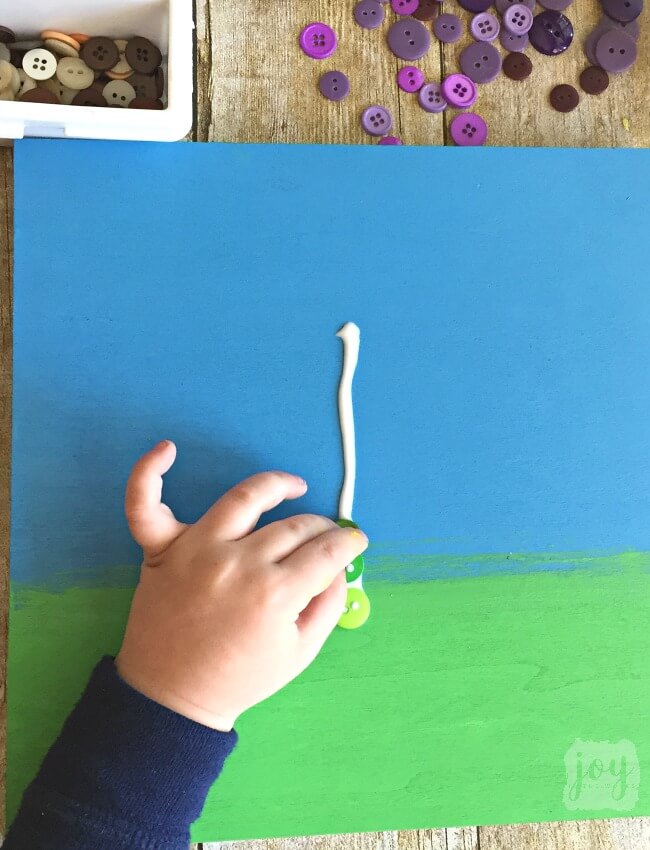 Step 4: Continue creating your flower in small batches, so the glue doesn’t dry out and the design shape doesn’t get away from you.
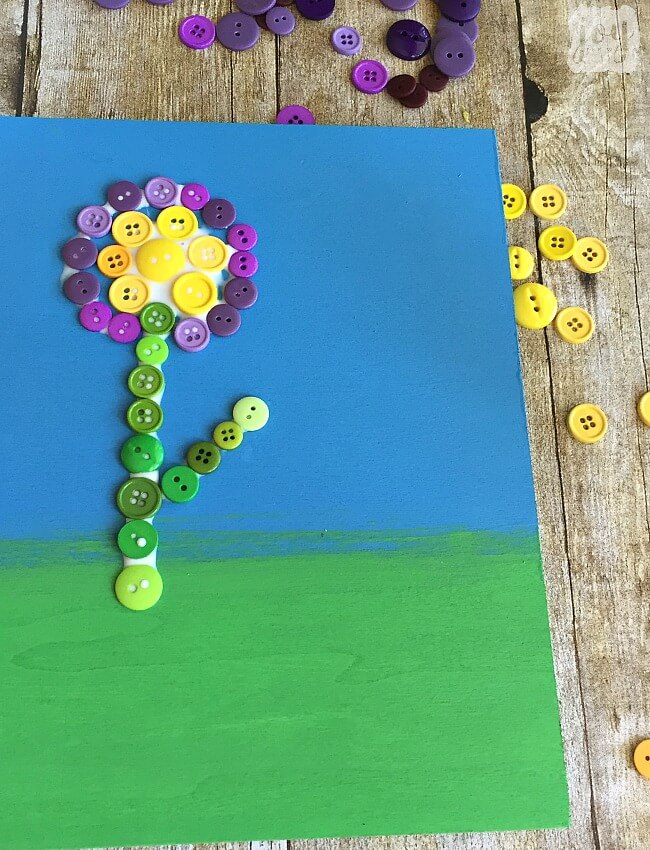 Step 5: There are a ton of options when creating a button flower. You can add leaves or stems. You can make a round flower or a star flower shape. If you are really creative, you can do a tulip or rose shaped button flower. The important thing with button is art is that the shades of the buttons are very similar when you are trying to create a distinctive shape. Your eye will be drawn away from the overall design and instead will go straight to the colors that stand out from the others. You can play around with this and see what works best for your design.
Step 6: Let dry and admire your button flower artwork! As I said, I think it makes a perfect gift for Mother’s Day. However, I would also love to decorate our home with this beautiful piece of art!

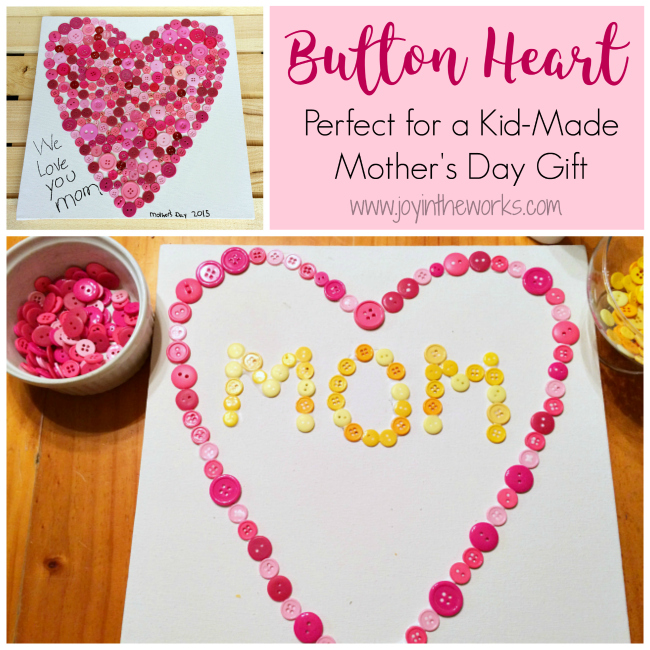
 Looking for more button art ideas? Check out the Button Heart!

Leave a Reply