I am sure it is no surprise to you that I signed up to be in charge of the class gift for my son’s 1st grade teacher. As a former teacher myself, I am always committed to making sure we don’t give the teacher more frames or candles! =) But what I do like to do is to gather the funds from fellow parents for a few gift cards and put it together with a class made gift. In the past, I have had the kids make an apron, a flower pot and wall art. I have a lot of posts to do to show you all of these class projects, but in the meantime, I think this is my very favorite class made gift, so I am moving it to the front of the line! I am just so proud of how well this Abstract Art Travel Mug came out and I am looking forward to putting it in a gift basket for my son’s teacher.
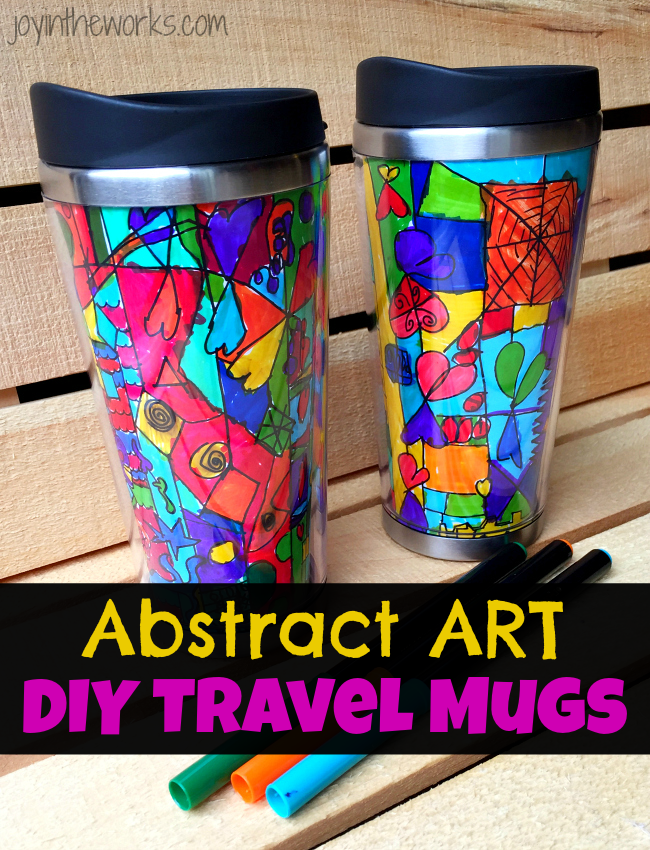
Abstract Art Travel Mug
Supplies Needed:
Black Flair Pens
Felt Tip Markers
Photo Travel Mug
Quality White Paper
Step 1: Take the photo paper insert out of your Photo Travel Mug. Use it to trace the shape of the insert onto another piece of quality white paper.
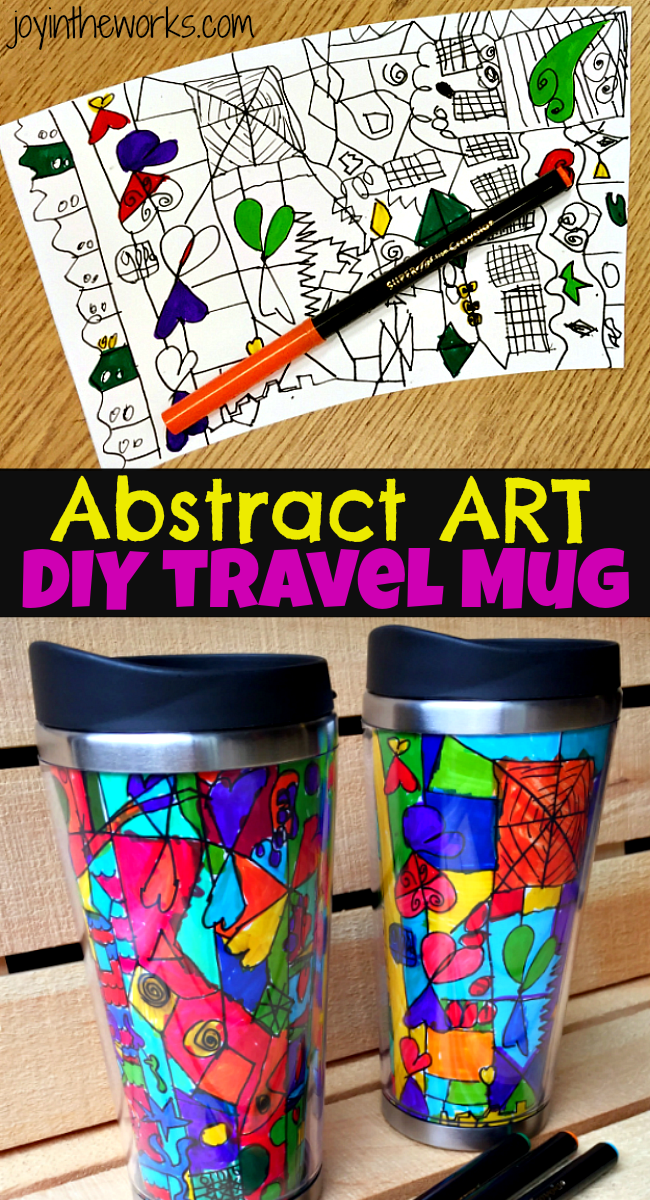
Step 2: Take a black flair pen and an instruct the child to start in the corner and draw lines and shapes. Make sure they know not to draw any people, any pictures, any faces or any words. Trust me, they need to hear this. =)
Step 3: If you are having multiple children work on this picture (like if it’s a class gift), have them take turns and pass the paper back and forth so they can build on each others work and not get stuck in one pattern or style. I even sometimes will get in there and show them a few places where they could add a circle around a square or how they can connect one shape to another using lines or how could they could put stripes behind something. It just gets them thinking differently about the art project. Some good terms to use with the kids are: stars, lines, circles, polka dots, diamonds, swirls, zigzags, X’s, wavy lines, symmetrical, white space, connect the lines, fill the space etc.
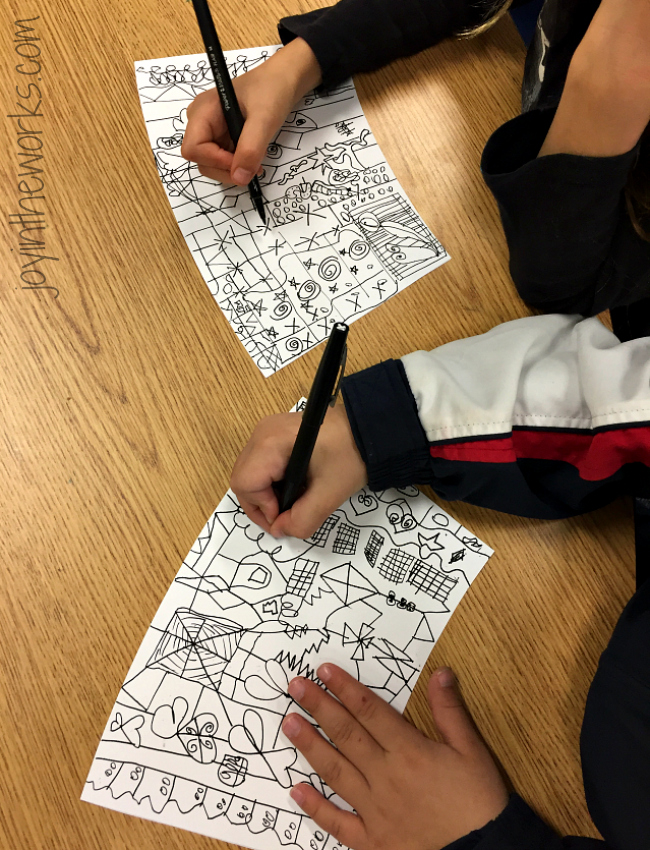 Step 4: After every child has had a turn or the paper is filled up satisfactorily, it’s time to color it in! It’s important to use quality markers and to monitor the colors the kids are using. Trust me, don’t even let the kids see the color black or brown or your entire project will be those colors! I also would be careful about pink and purple if you have a lot of girls coloring the paper. In fact, what I would usually do, is offer the kids 2 or 3 colors they can choose from based on the colors that have already been used. It is very important to balance out the colors and that’s why I suggest careful monitoring. A few other coloring tips for the kids: make sure they take their time, so there isn’t any scribbling or white space left on the space they are working on. If there are any major mistakes made with color, you can simply take a darker color and color over it. Plus, with an abstract art project, there isn’t a lot that will look like a mistake! =)
Step 5: Coach the children to take one marker and color in only 6 shapes at a time. Show them what constitutes a shape. It could be an actual diamond or it could be the space behind the diamond (A more experienced artist would know the proper terms for all of these things, but that’s not my gift!) After they have colored in 6 shapes with one color, give someone else a turn or switch papers or just switch colors. Going color by color helps the children to think about their art in terms of a space and color. As they move to a new color, we talk about what colors would look good next or which ones have already been used a lot. We also sometimes have to grab the flair pen again to finish off a line or close up a space. It’s important that there aren’t too many huge blocks of color, so sometimes you also need to divide up an area with more lines to make it smaller.
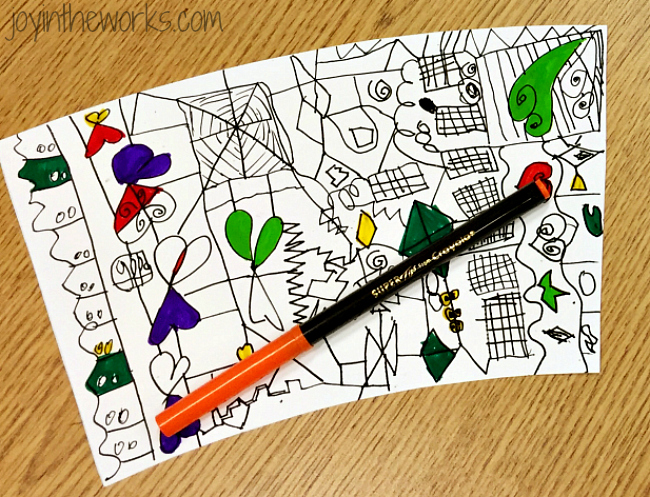
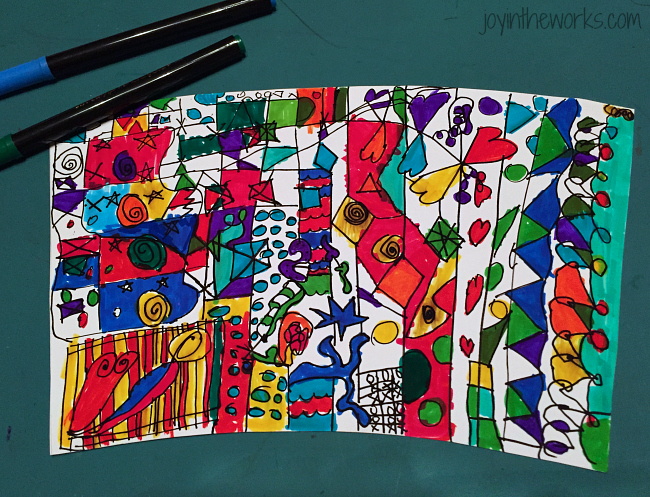 Step 6: After the children are pleased with their abstract art (It’s fine to leave white space if you like the look above), let it dry for a few minutes. I have no logic to this, but I just felt better about it being completely dry from all the marker ink before I put it into the mug. Once you are sure nothing will smear or smudge, carefully roll up your paper and insert into the photo mug. The one I recommended (that I used and was impressed with the quality) twists off at the bottom. For some reason, I felt less nervous about water leaking in when you wash the mug if it opens at the bottom and not at the top. But either way, it’s a risk with a project like this and it is always recommended you hand wash it carefully.
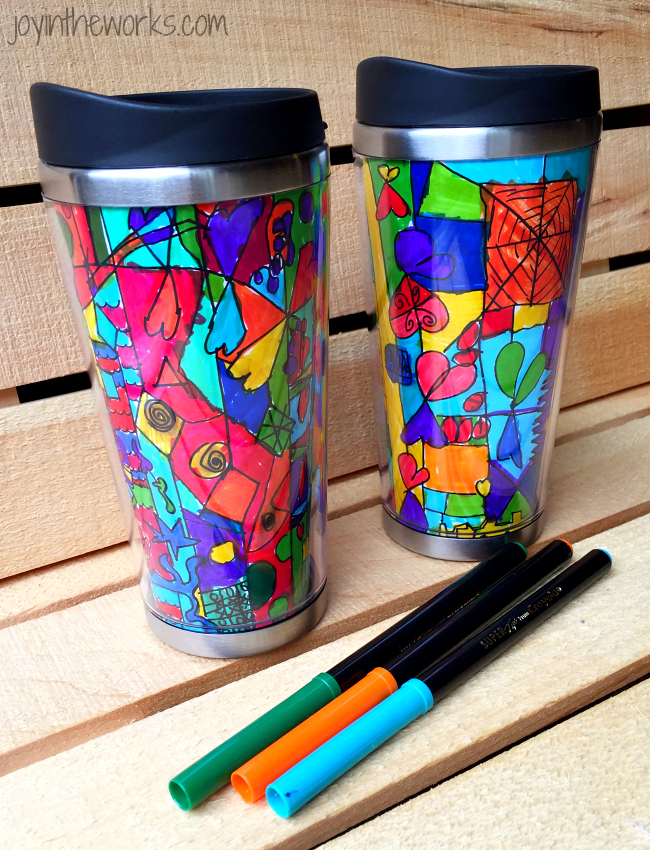 Step 7: Enjoy your final product! Make the difficult decision to give it as a gift (it would be so loved by a grandparent or a teacher) or keep it in your own house! If you are giving it as a gift, I suggest writing something on the bottom of the mug or on the inside of the paper to commemorate the occasion. Another option is to write a note on the front and incorporate the recipients name or monogram into the design. The last time I did one of these I put my nephew’s first initial on the front. I also considered leaving it blank so that my nephew could color it as he saw fit. That’s always an option for someone who loves the adult coloring movement.
What about you, are you a fan of the adult coloring movement? I personally like how it gives parents and kids a connection and something they can do together and both enjoy! I found some other supplies for you to check out if you are interested. And I would love to hear your thoughts on the Abstract Art Travel Mug? What do you think about how it came out? Would you try it with your own kids? Share your thoughts below!

Leave a Reply