We are at that point in the summer – bored kids wondering around the house, complaining about having nothing to do and picking fights with anyone who…breathes! It’s definitely time to pull out my favorite way to beat summer boredom and get the kids to play independently – The Summer Box! The DIY Summer Box is full of summer fun activities so that the kids not only have something to do, but they can also do it on their own.
Because, as I have said many times before, I don’t believe children, who are used to being constantly entertained by screens, activities, classes, practice and even by their parents, can all of the sudden develop the ability play creatively on their own. I think that sometimes it’s on us, especially because we are partly responsible for creating this situation, to remind children how to use their imagination and find something to do with the items they have on hand. And that’s where the Summer Box comes in!
This blog post may contains affiliate links. You can read more about our policies on our disclosure page.
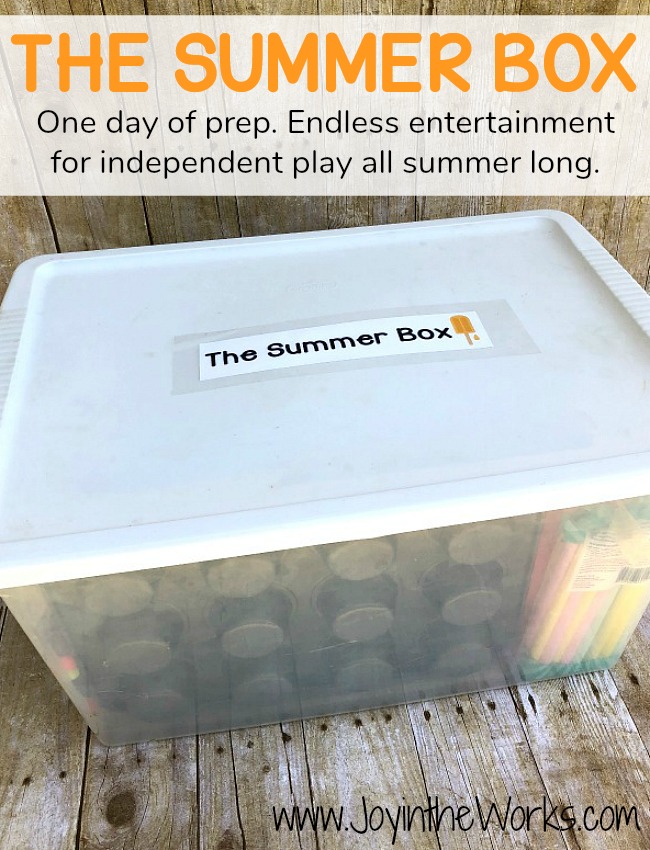
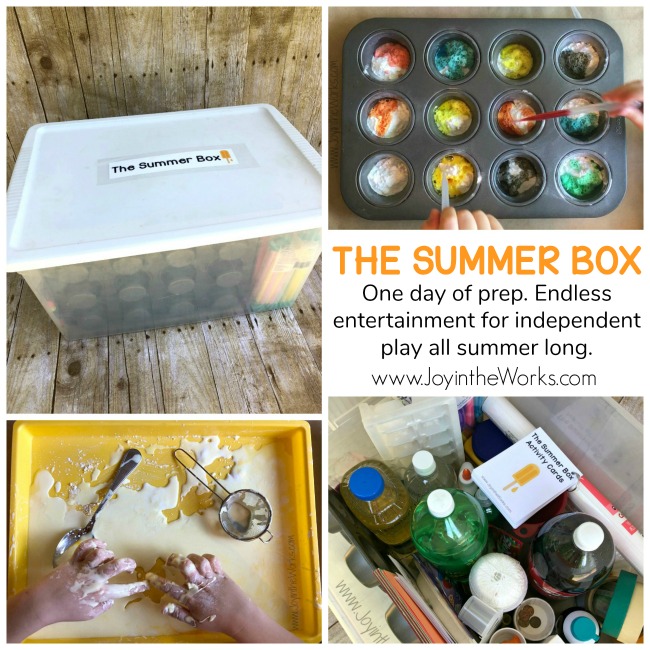
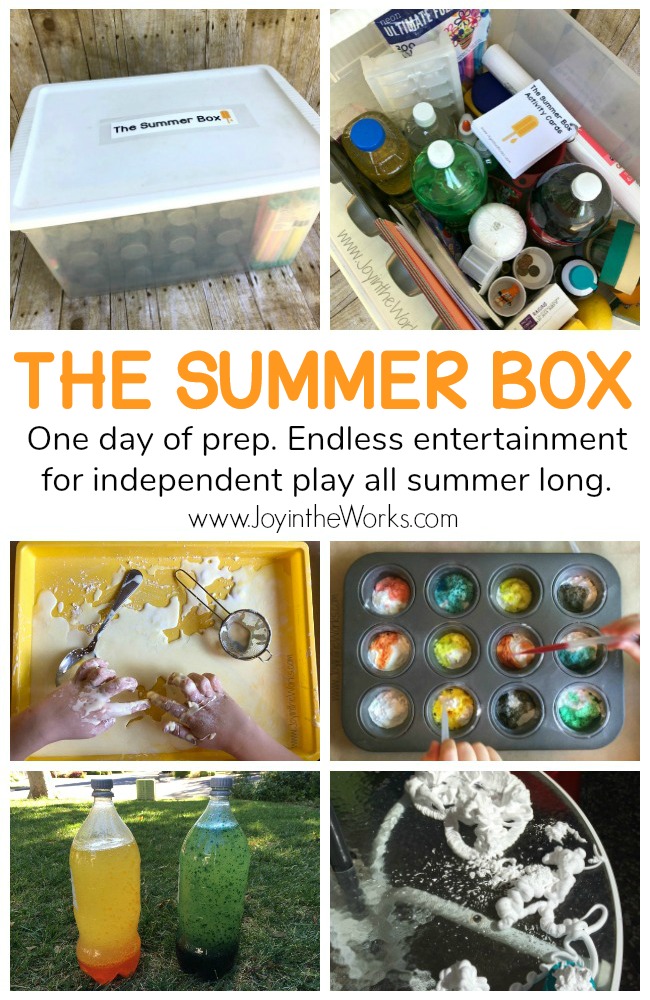
The Summer Box
The Summer Box is a box or bin that you fill with enough supplies for an entire summer of play. While you could fill it with miscellaneous household items and crafts and let your kids create their own activities right from the start, I like to include activity cards to give them some structure and guidance to get them started. After years of requests, I have finally created my own set of printable Summer Box Activity Cards for you to download and print, making the prep and box creation even easier for you.
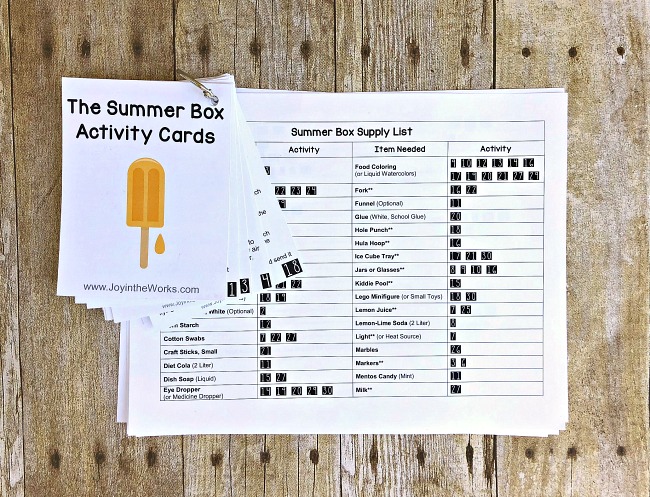
With the download, you not only receive 30 activity cards and a Summer Box label, but you can also take advantage of the comprehensive supply list that comes with it. I made it simple for you to take the supply list to the grocery store (If you don’t already have everything on hand) as well as quickly see which supplies are needed for each activity. The supply list also gives you the option of creating a smaller box for just a few of your favorite activities.
Before I share the exact steps for creating your own DIY Summer Box, how about you see the fun in action? My friend put together a video showing how easy it is to assemble the Summer Box and how much her kids enjoyed the independent play it provided. You can watch the video here:
Now that you have seen the creative, independent play in action, you can tell how the Summer Box is a lifesaver for bored kids in the summer! Kids can choose what activities they want to do by looking through the 30 different crafts, games and activities listed on the Activity Cards. After they have picked their favorite, kids will read the card for instructions and supplies. It will be short and sweet and you will have already put everything they need right in The Summer Box ready for independent play!
When they finish one project, the supplies go back in the box for next time. Then kids can move on to their next choice. With a well stocked Summer Box, kids can easily entertain themselves, play creatively and (hopefully!) stop asking for screens for a good 5 minutes or so!
To create your own Summer Box, you will need:
A box or bin
Activity Cards (You can purchase a set of 30 here or make your own)
Supply List (Our digital purchase comes with a very thorough supply list)
Household items (As outlined on the supply list)
White Cardstock
Paper Cutter or Scissors
Hole Punch
Recommended (but not required): Wipes and rags (and a lesson how to clean up!)
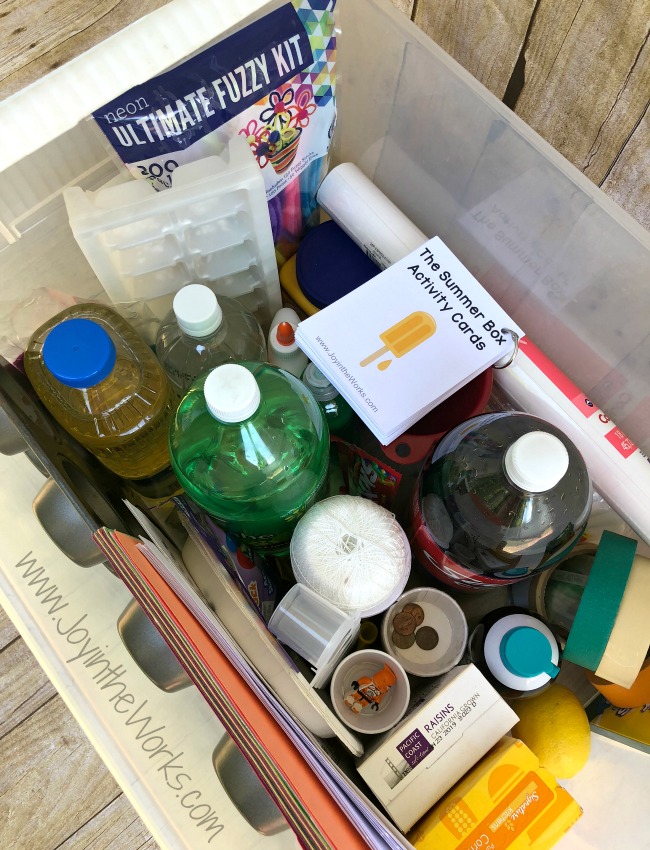
The very first thing you need to do to make your own summer fun and entertainment is to find a box or bin. I used one that was big enough to fit the supplies for all 30 activity cards, but you can pick and choose whichever ones you like best. Or you can make and include your own cards or activity books and include whatever supplies you would need for those. Whatever works for you! (Just make sure the supplies in the box match the activity list exactly.)
If you decide to download my Summer Box Activity Cards where the supply list and activities are cross-referenced, I recommend printing everything on white cardstock if possible. You can use your home printer or send it to a local printer if that’s easiest.
After you printed out the multiple pages, use a paper cutter or scissors to cut the 4 page cards apart. While it isn’t a requirement, I like to attach my cards together, so next, grab a hole punch and punch a hole in each card (being careful to line the holes up). Last, take a metal ring to attach the cards all together.
Another optional step worth mentioning is to laminate the cards. If you want your cards to really last, cut them out first, laminate them and then use the hole punch and the metal ring to attach them together. Either way, after they are all finished, place the activity cards with the corresponding supply list in your Summer Box and watch your children’s creativity flourish!
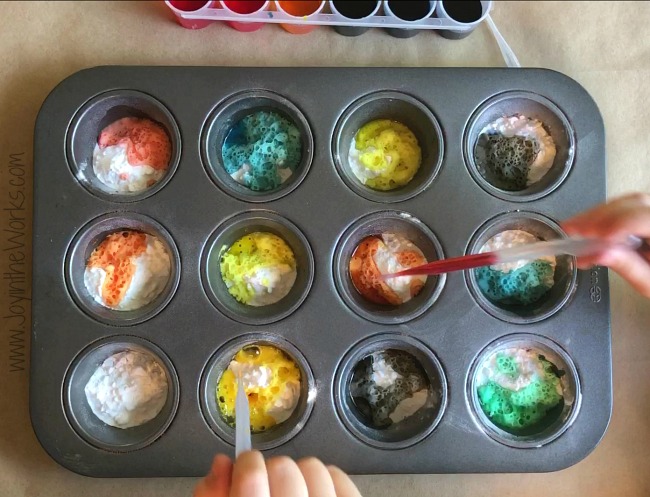
With 30 different activities (plus the option of free play- my kids love just experimenting on their own after awhile), there is a lot of fun to be had! I included science “experiments” and lots of STEM activities on the printable activity cards, but also games (like a “Snowball” Fight during summer!) and dramatic play activities (Pirate’s treasure always needs a treasure map after all!) One of my kids’ favorites was the Fizzy Color Mixing Activity we did, shown here:
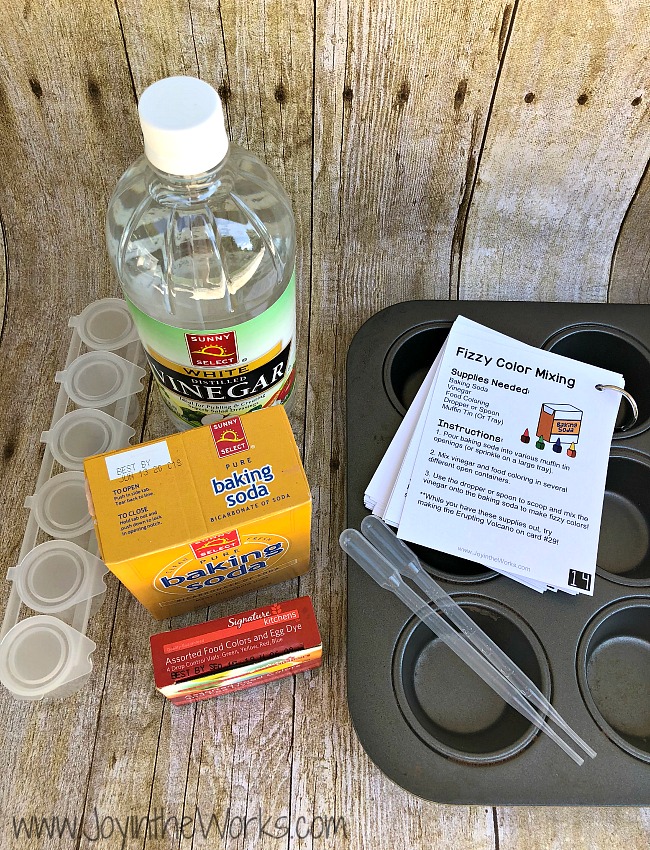
It’s so easy for kids to do completely independently and is a great opportunity for educational play!
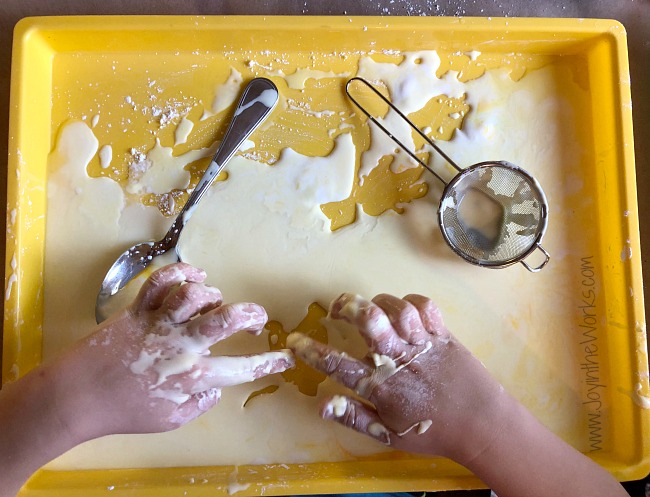
Another way my kids easily get creative and play independently with the supplies from the Summer Box is by making their own Oobleck (or Glop as some people call it!). It’s a simple way for kids to create their own sensory play as it only requires cornstarch and water. Adding food coloring is optional, but the color does make it a bit more exciting as my kids had a blast mixing it in with their hands!
Those are just a few of the activities that my kids have done with their Summer Box. It is important to note that in order for children to truly use The Summer Box independently, there should be at least one older child who can read the cards and supervise the activity and the clean up. Many of the cards have activities and games that 3-4 year olds can do, but they must be supervised. Ultimately, you know your child(ren) best and it is up to you to read through the cards and prep the ones you want based on appropriateness, supplies and interest.
**If you don’t have a 6-8 year old in your house up to the task of reading the cards, hire a Mother’s Helper like I did one summer. My middle school school neighbor loved coming over and doing these activities with my youngest son while I got things done around the house . It was worth every penny because I no longer had bored kids, fighting kids or kids who just wanted to be glued to screens or entertained! So if you want to help your kids overcome summer boredom, get creative with who helps out!
How do your kids spend their summers? What are some of your favorite ways to help your kids fight summer boredom? Are they good at entertaining themselves? Share in the comments below!

Leave a Reply