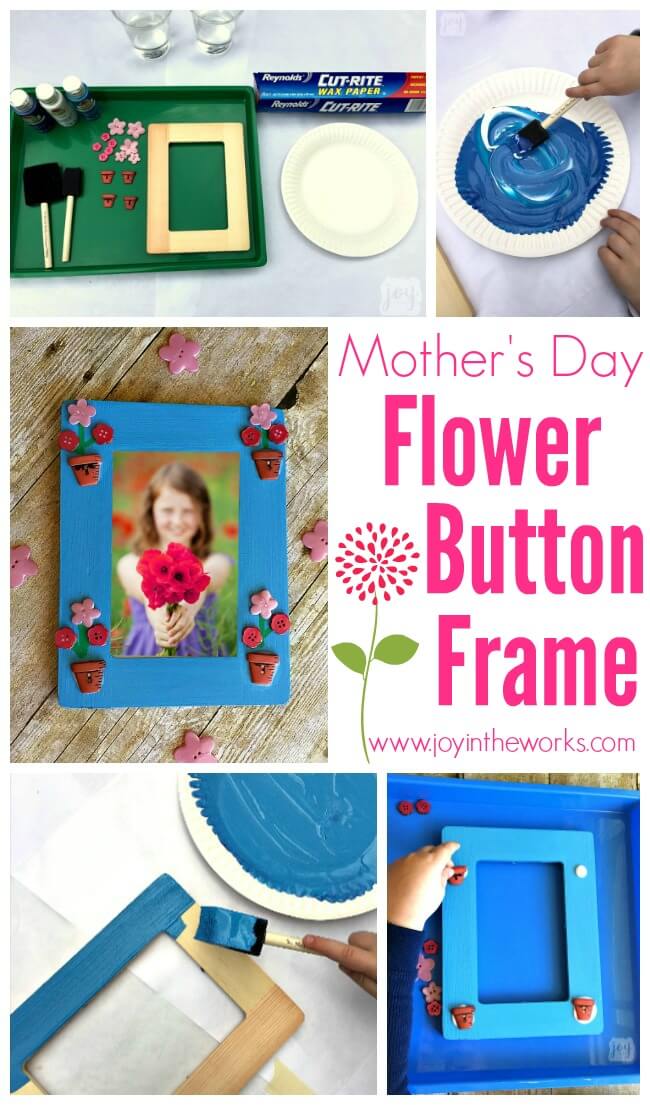
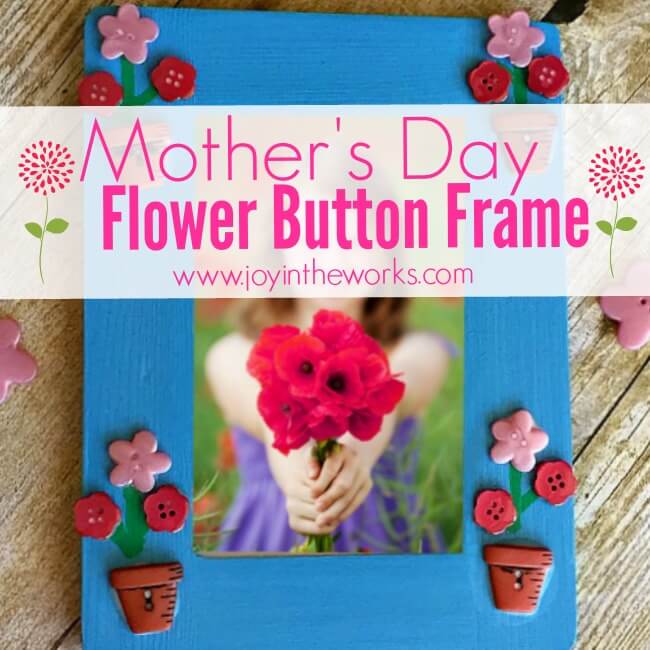
This is the last Mother’s Day gift idea for the year- I promise! This one was too cute (and easy!) not to share! This Mother’s Day Flower Button Frame makes a sweet gift for a mom or a grandmother, especially when paired with a picture of a child holding flowers or even next to real ones!
This post may contain affiliate links. Please see our disclosure page for more details concerning our policy.
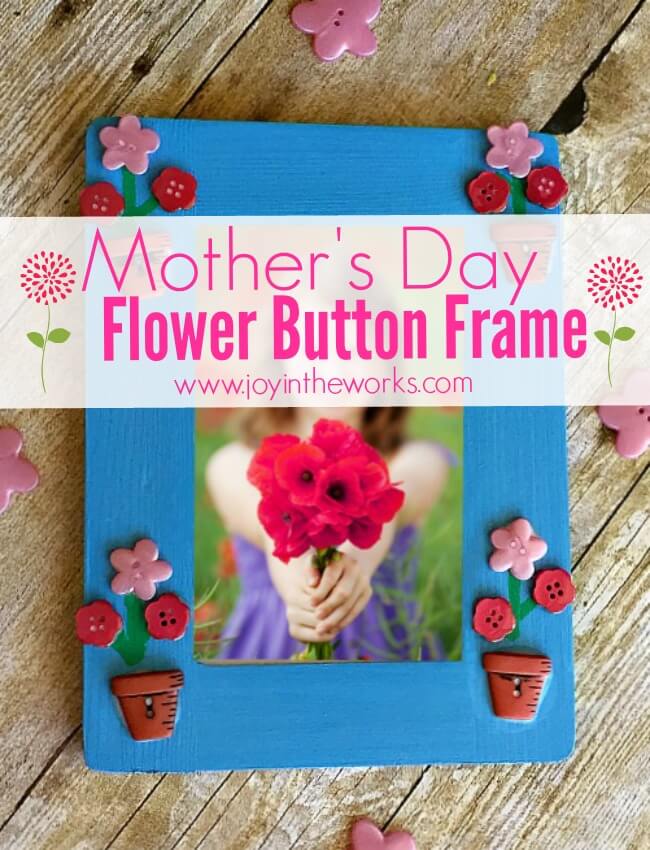
Mother’s Day Flower Button Frame
Supplies
Wooden Unfinished Frame
Acrylic Paint (Gloss)
Foam Paint Brush
Flower Buttons
Flower Pot Buttons
Green Paint Pen
Glue
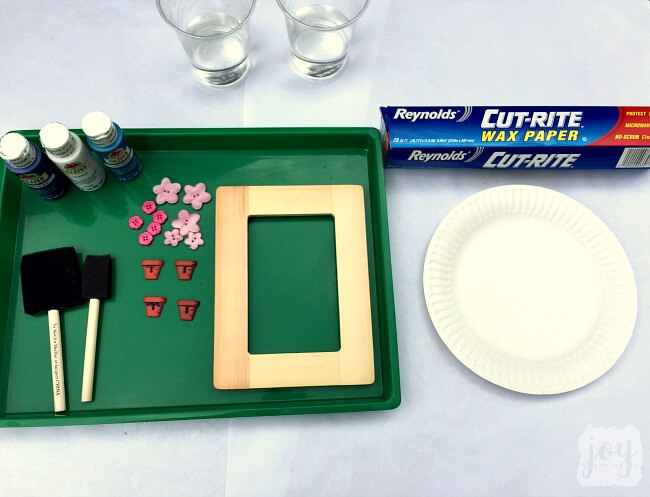
Step 1: Gather your supplies. I like to make sure I have everything ready to go before I call the kids over to help me. I also like to use wax paper underneath my painting project because the paper won’t stick to the back of it like newspaper does. I also like to use foam brushes and acrylic paint for the best coverage on unfinished wood. If you are having a child help you (which you should!), make sure they are covered with a smock because this type of paint isn’t washable. It does wash off hands, however.
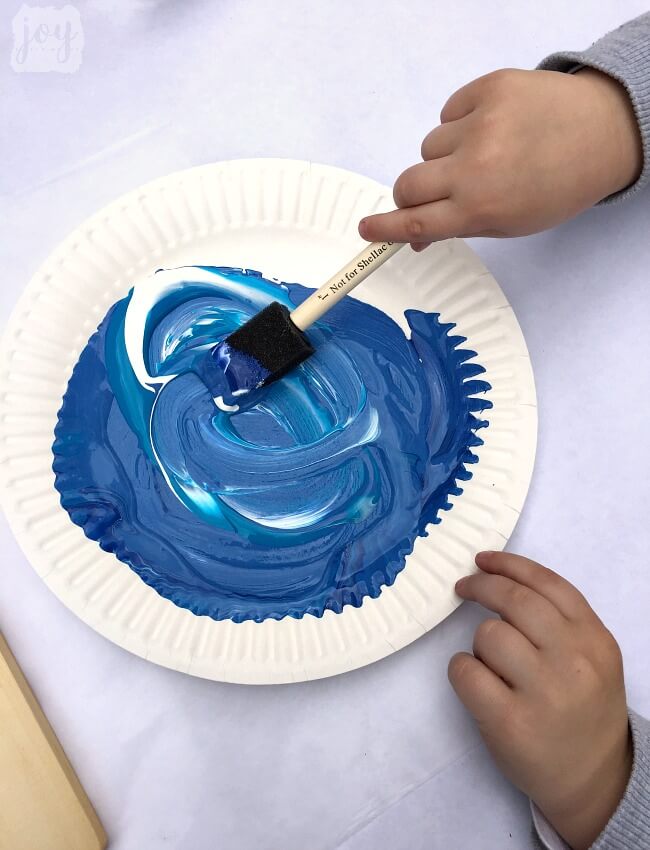
 Step 2: Paint the base coat of your frame. I just used the paint colors that I had on hand and because I wished I had a lighter blue, I used the regular blue and white and let my son mix them together (with a little turquoise thrown in!). I figured it was a good lesson on color mixing for him and stiring the paint colors before we got started gave him something to do. My goal was a sky blue behind the flowers and while I don’t think I quite achieved that, I thought it still turned out nicely.
 When we (yes, I said we) are painting the base coat, I tend to help out a little more (keep it subtle- don’t ever make them feel like they are doing it wrong and that you have to take over and fix it) I only jump in to smooth out big globs of paint and make sure no wood is showing through. I have shared some similar tips previously on how to get the best work out of kids when doing artwork as gifts like this in these previous posts: Class Art Projects and Kid Made Button Frame. I hope it helps! Feel free to share some of your own tips in the comments below.
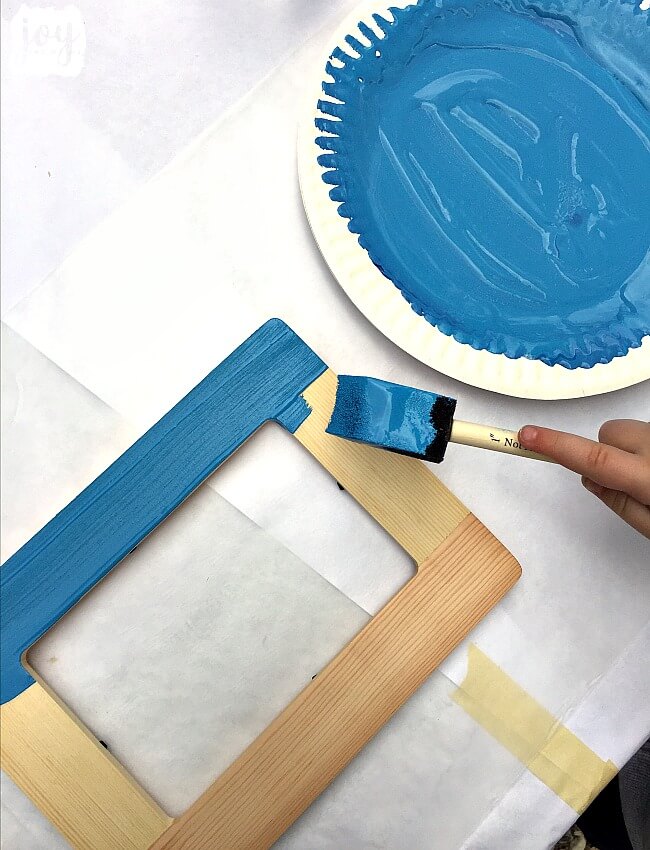 Step 3: Let the paint dry. It is always so hard for me to do this step because I want to get to the fun part- the decorating! But you have to let it dry to avoid a mess on your hands. Literally. A little tip: I never follow the directions on the back of the acrylic paint bottle (seriously, sometimes it says something crazy like wait 24 hours for a second coat!). I just wait for it to dry to the touch. If you are doing this project outside on a day with sunshine and low humidity, it takes very little time to dry.
Step 4: Ask the child where they would like to place the flower pot buttons and if necessary, help them squeeze the glue on these spots. When they are in charge of the glue bottle, I just try to make sure they don’t squeeze out the whole bottle. The good news is that even if they do, it dries clear!
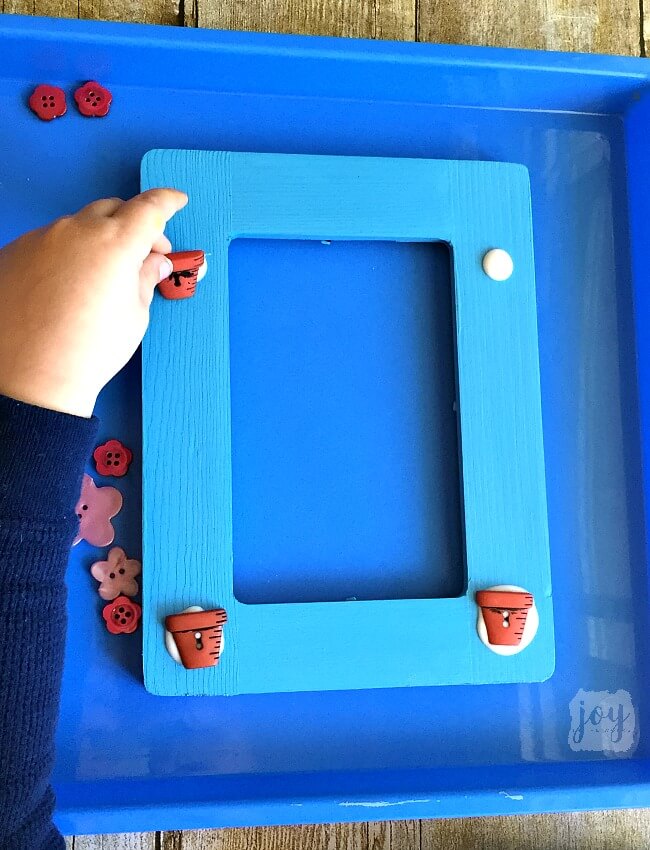 Step 5: Add the flower stems using a green paint pen. Now, a more patient, organized crafter would say, wait until the glue dries before painting on the stems, but of course, I am neither of those things. As you know, my crafting and DIY gifts are always at the last minute! =)
But yes, really, you should let the glue dry underneath the buttons. Also, I did use a toothpick in some spots to scrape off any excess glue at the top of the flower pot so that we wouldn’t be drawing or painting on dried glue! But once it is dry, following the instructions on the paint pen, let the child draw the flower stems. My son and I planned ahead of time how the flowers would work best with the stems, so he knew where and how to draw the stems. For instance, we wanted to be sure there would be enough space for all the flowers, so we laid the buttons down first and then took them off and drew the stems.
A side note about the paint pens- if you don’t have them, you could use a small paint brush with some green paint instead. However, I find that paint pens are much easier for kids to work with and do a much better job for specific designs like the flower stems.
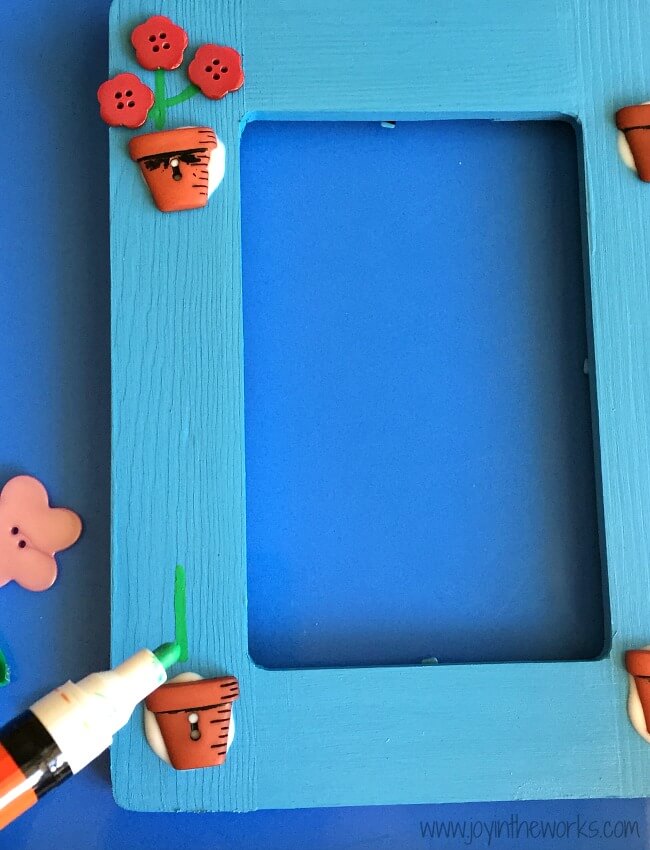 Step 6: After the flower stem paint has dried, then grab the glue again and glue the flower buttons to the top of each green line. You could also add button flowers in other places around the frame without a flower pot to match. You don’t have to use the flower pots everywhere (or at all!)
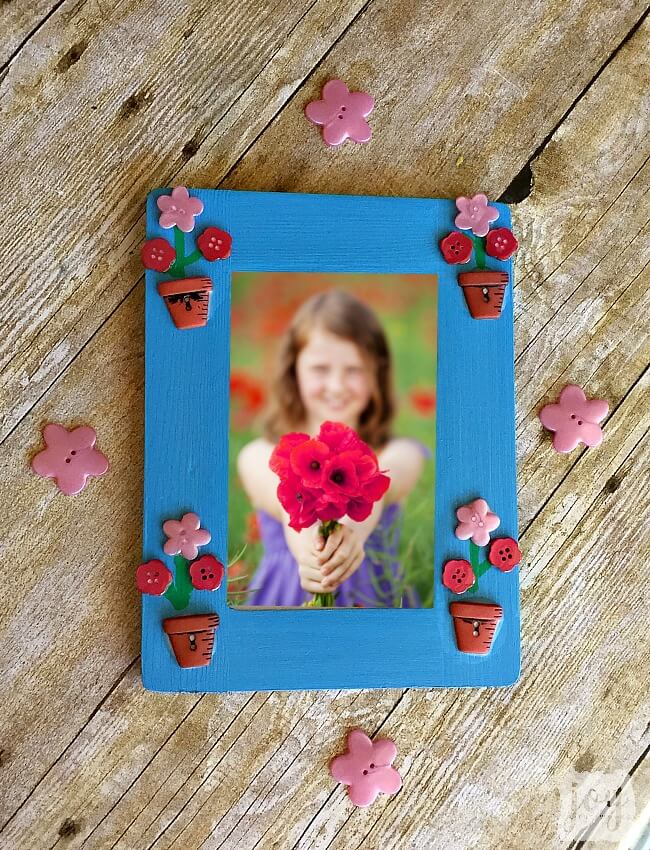
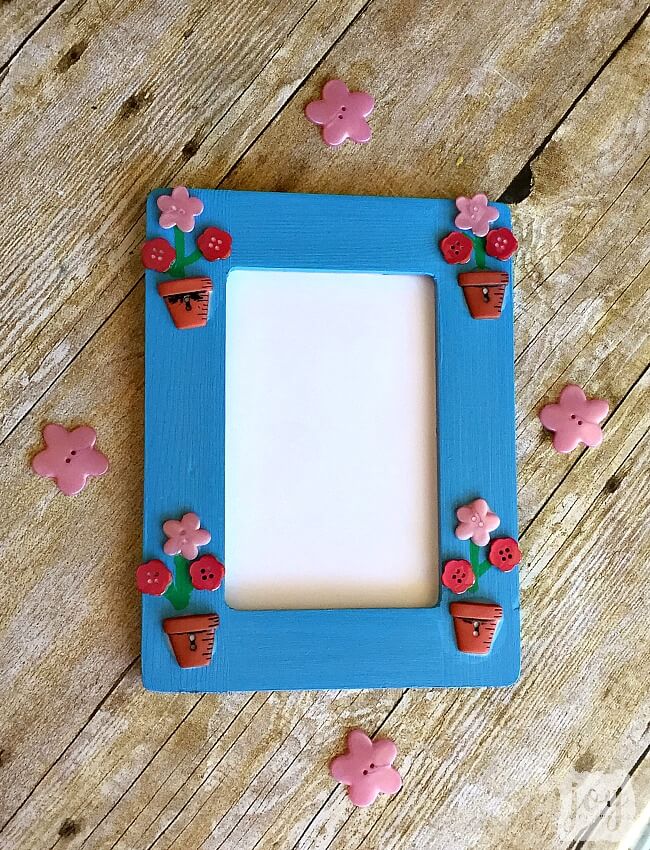 Step 7: Let dry one last time! Next, add the backing to the frame and a photo if you want. As I said, I liked the idea of adding a photo with a child holding flowers in the picture, so I came up with an example below. I also was considering having the children write words on the frame with the paint pen- like “Happy Mother’s Day” or “My love for you grows every day.” Or even just some words or phrases they came up with using the words bloom, grow or love. Kids have great ideas if you give them a chance! But honestly however the Flower Button Frame comes out, I think we all know it will be a treasured Mother’s Day gift because it was something they made!
Looking for other homemade Mother’s Day gifts? Check out the Fingerprint Flower Pot, the Button Heart or the Button Flower

Leave a Reply