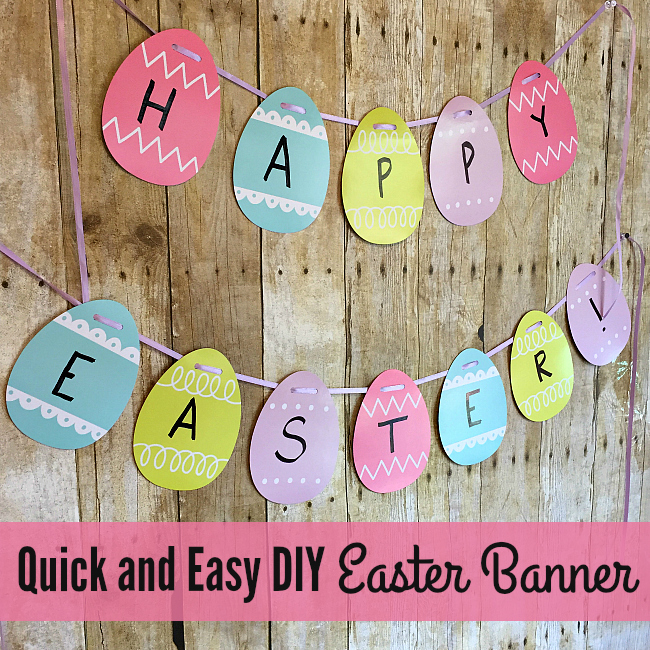
Easter is one of my favorite holidays. I love that it falls in springtime. The colors, the warm sunshine, the decorations-all those Easter eggs, carrots, chicks and bunnies- it all makes me so happy! So when I realized that those shapes could be made into a quick and easy DIY Easter Banner to decorate for our Easter brunch, I just had to do it!
This blog post may contain affiliate links. To read more about our policy, go to our disclosure page.
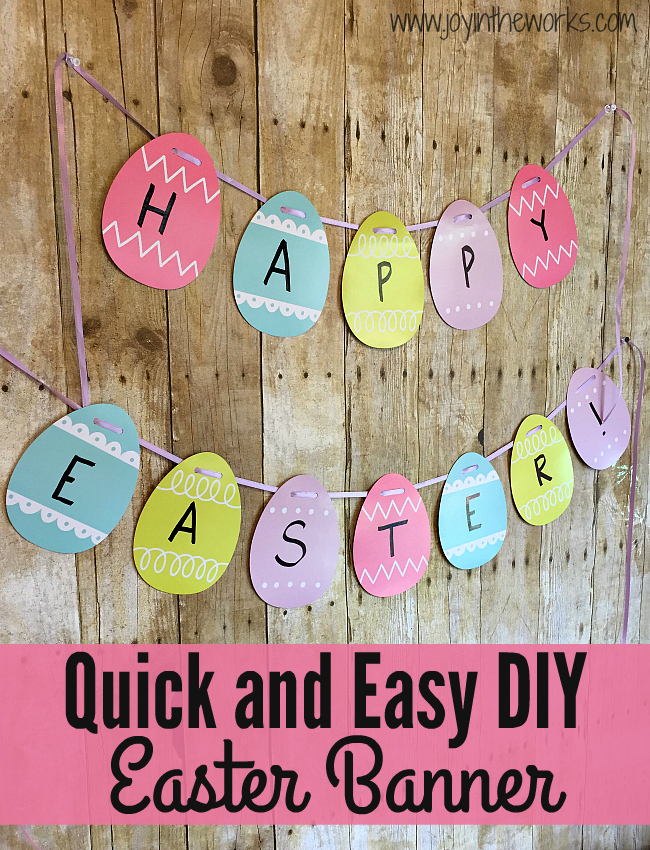
Easy DIY Easter Banner
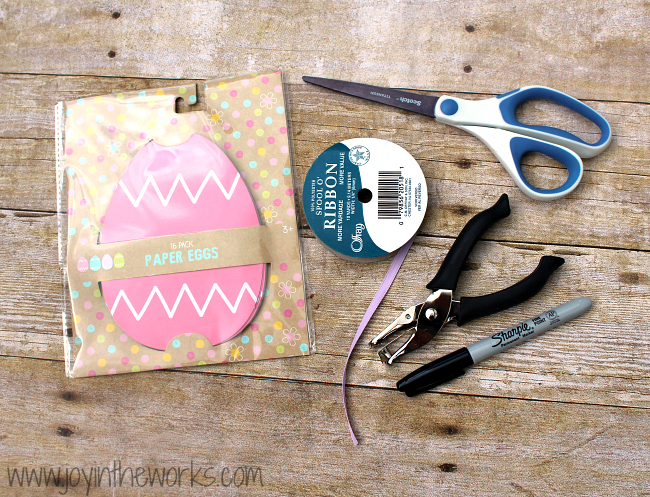
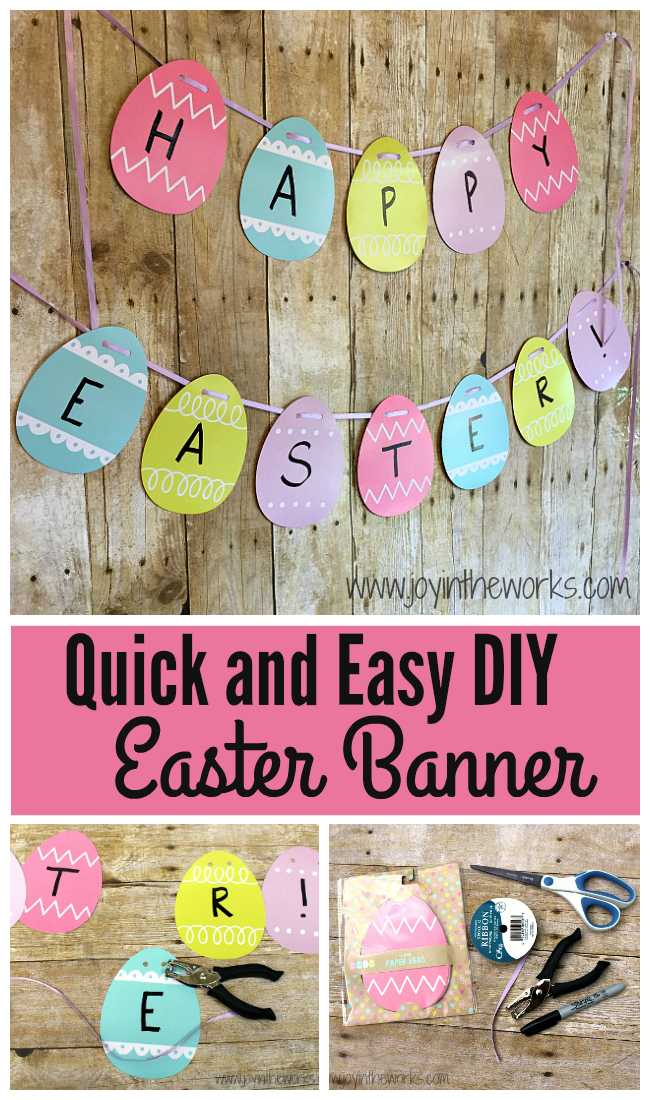
Supplies:
Easter Themed Paper Cutouts (I found mine in the Target Dollar Spot, but I found something similiar for you on Amazon. If you have a little more time, feel free to make your own. You can make eggs, rabbits, carrots, chicks and so much more!)
Sharpie
Hole Punch
Scissors
Ribbon or Twine
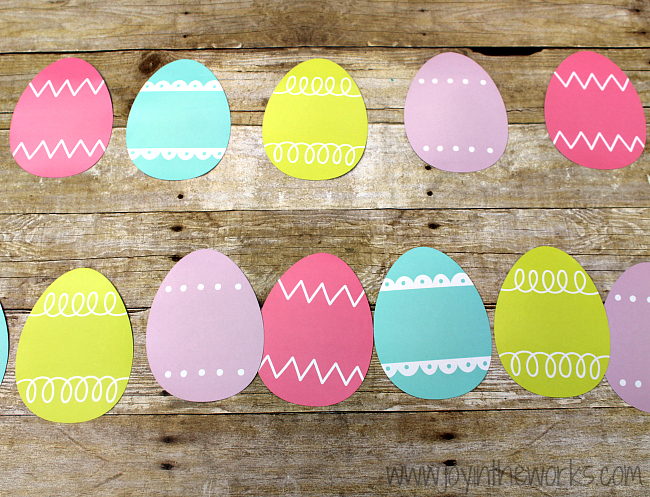
 Step 1: Lay out your shapes. Decide on what you will say (It doesn’t have to be Happy Easter. You could get creative with the words hop, bunny, spring, garden etc Count out the number of shapes you will need and organize a pattern if you are going to do one.
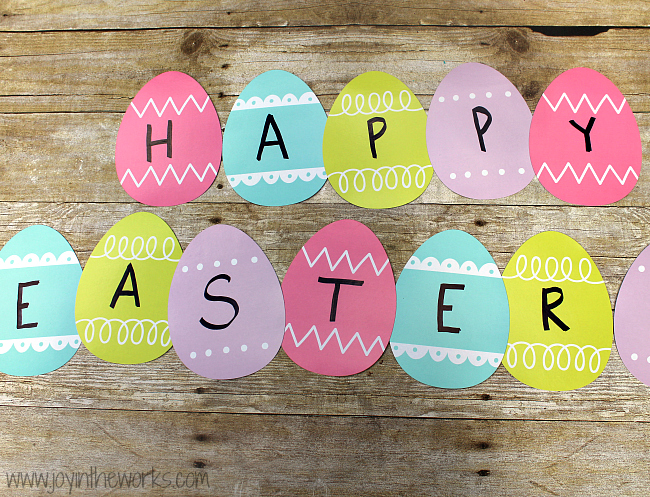
 Step 2: Write your message on your Easter paper cut-outs. Make sure your message is dark enough that you can read it from afar.
 Step 3: After you make your letters nice and dark, it’s time to punch the holes in your banner shapes. I found each cutout needs 2 holes so that it lays flat when you add the ribbon.
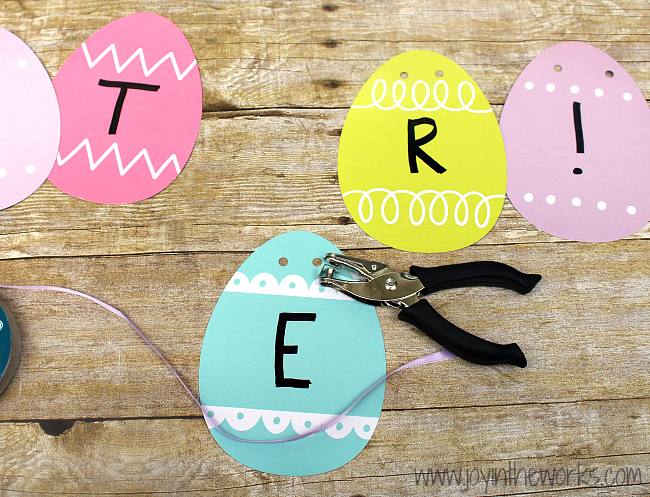 Step 4: Lace the ribbon through the holes in your shapes. This is actually the hardest part. You need to make sure you the ribbon doesn’t flip (that’s why twine is a great option), get twisted, knotted and that you keep the letters in the correct order. You also need to lace the letters all the way through to the end of the ribbon, so that part does take a little bit longer.
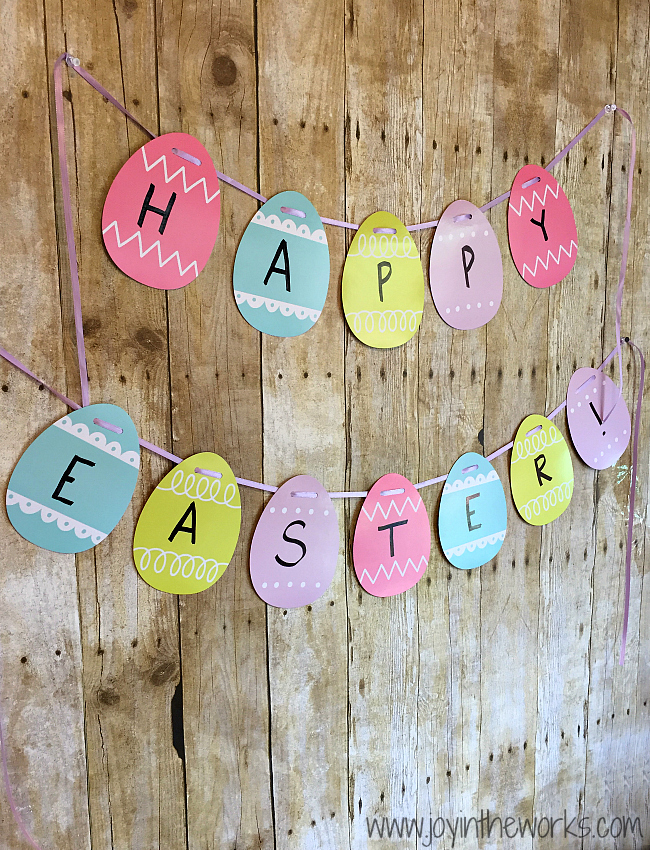
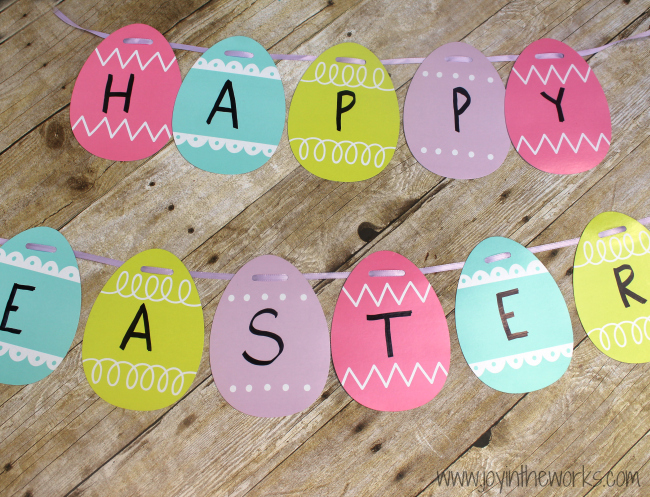 Step 5: Knot the ends of the ribbon so that the banner doesn’t slip or get out of order. When hanging the banner, I often put a thumbtack right through the knots, so it hangs really well.
Step 6: Enjoy your easy DIY Easter banner and have a Happy Easter!
Leave a Reply